Studio Set Series: The Bathtub ~ Boudoir Photography ~ Vancouver, WA
/When it comes to the boudoir sets in my studio space… all of them are loved equally, but I’ve noticed that some of them definitely offer more flexibility than the others!
I have sets that are more on the “permanent” side in terms of where they’re located in my studio… like my living room set! But I do have a bit of flexibility because I’m able to swap out decor that’s used in the space. The bedroom set is similar! I can change out the linens on the bed, but the bedroom will always be located in the same spot in my studio.
Lately, I’ve been really excited about some of the special sets that allow me to get flexible with the location of the set AND how we use it… like the bathtub set!
The bathtub is a newer addition to my studio, and it has come with a TON of versatility. A tub was on my wishlist for quite awhile, but with my smaller studio space, I knew that I had to use space efficiently and find a tub that could be easily moved around. Before finding the perfect tub, I almost settled for a heavier tub that would have to be placed on a rolling stand if I wanted to move it around.
I got SO lucky and recently found the perfect tub on Facebook Marketplace that weighs only 25 pounds… meaning that I can easily pick it up, carry it, and move it to another location without any assistance. This is a photographer’s dream!
This lightweight tub has made it VERY easy to stage different kinds of bathtub boudoir shoots! I’m so excited to share some of these recent sessions. Even though they all include the same tub… some of the shoots are in different locations, and some of the shoots use the tub in different ways!
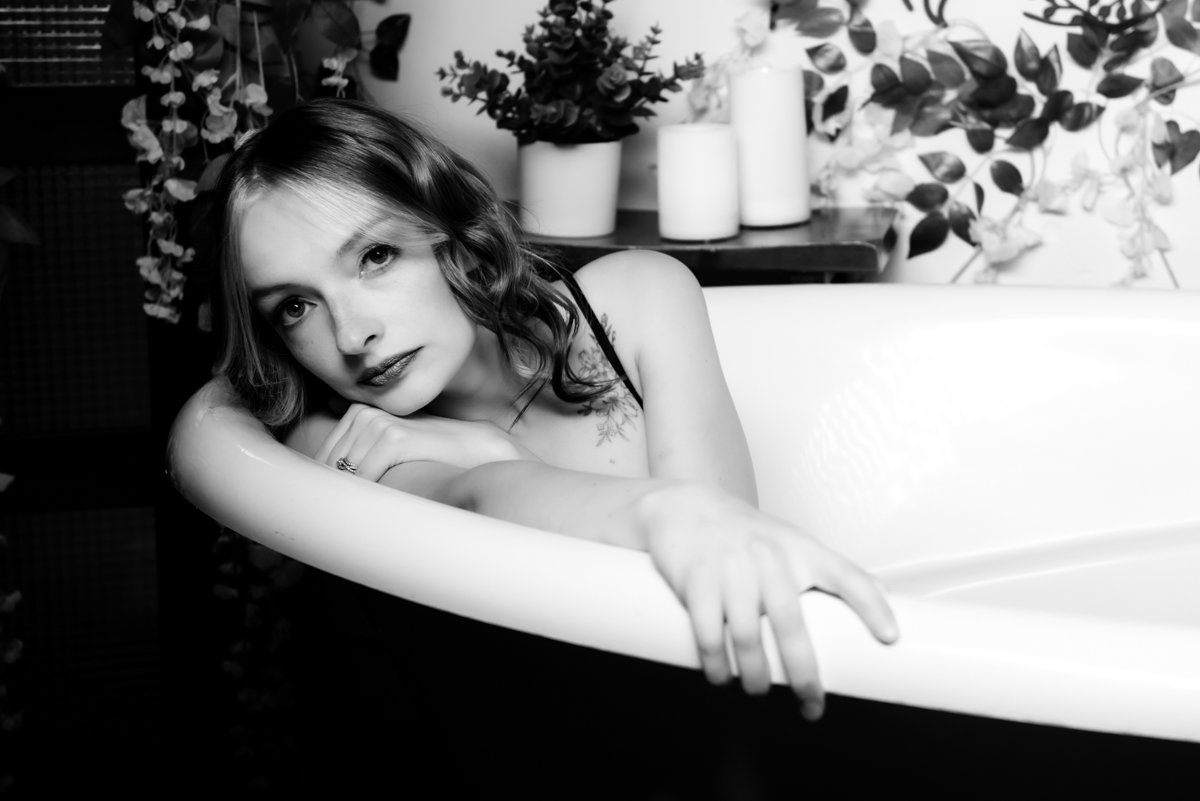
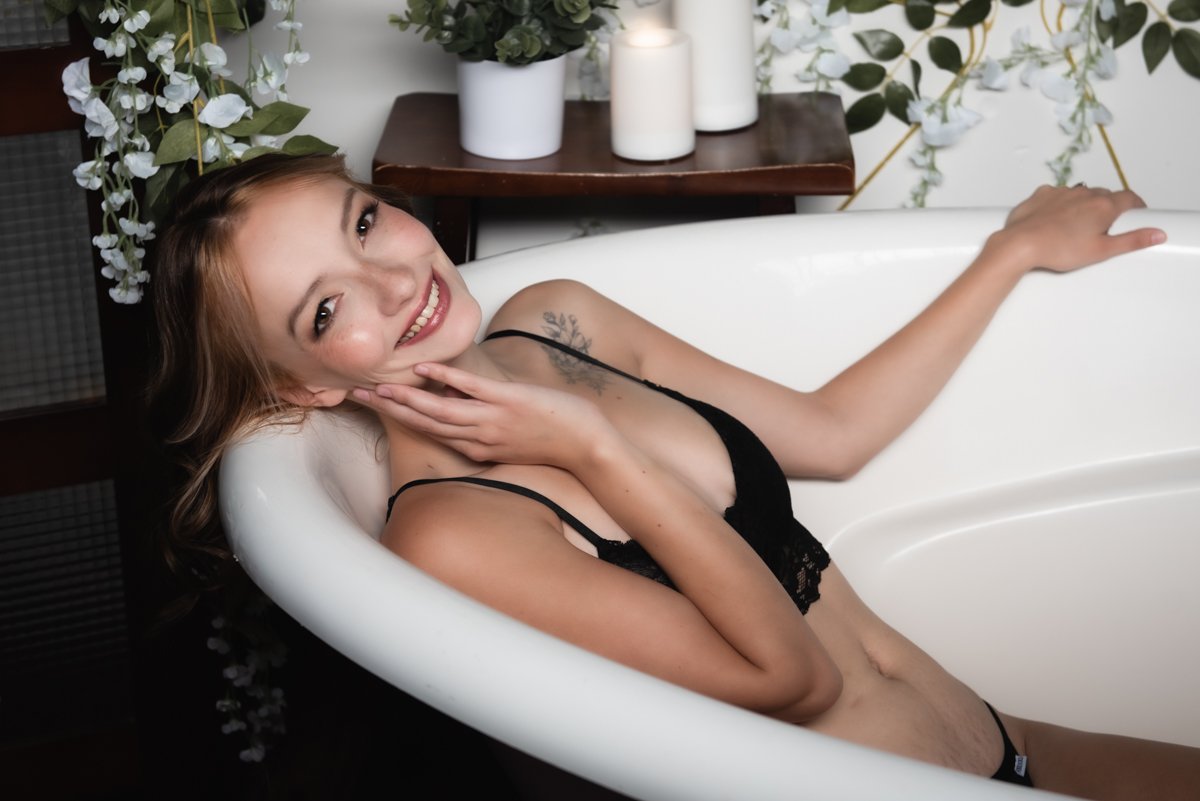
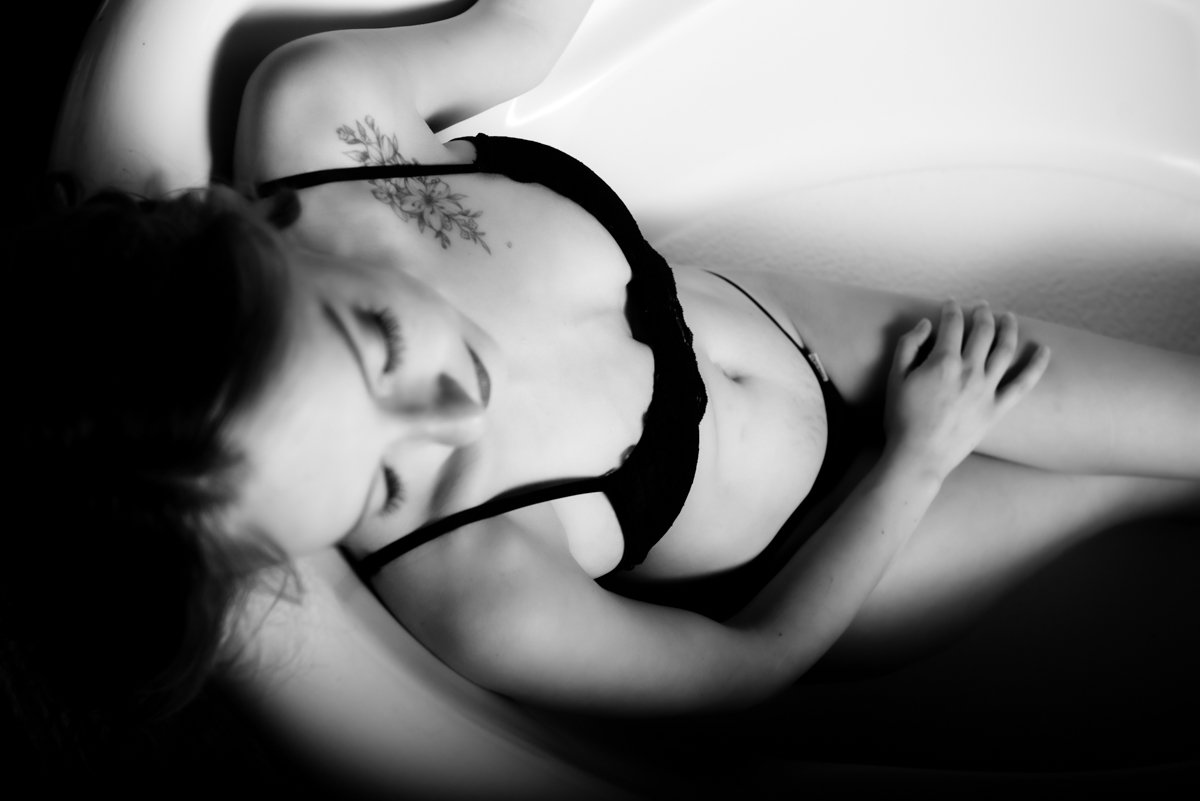
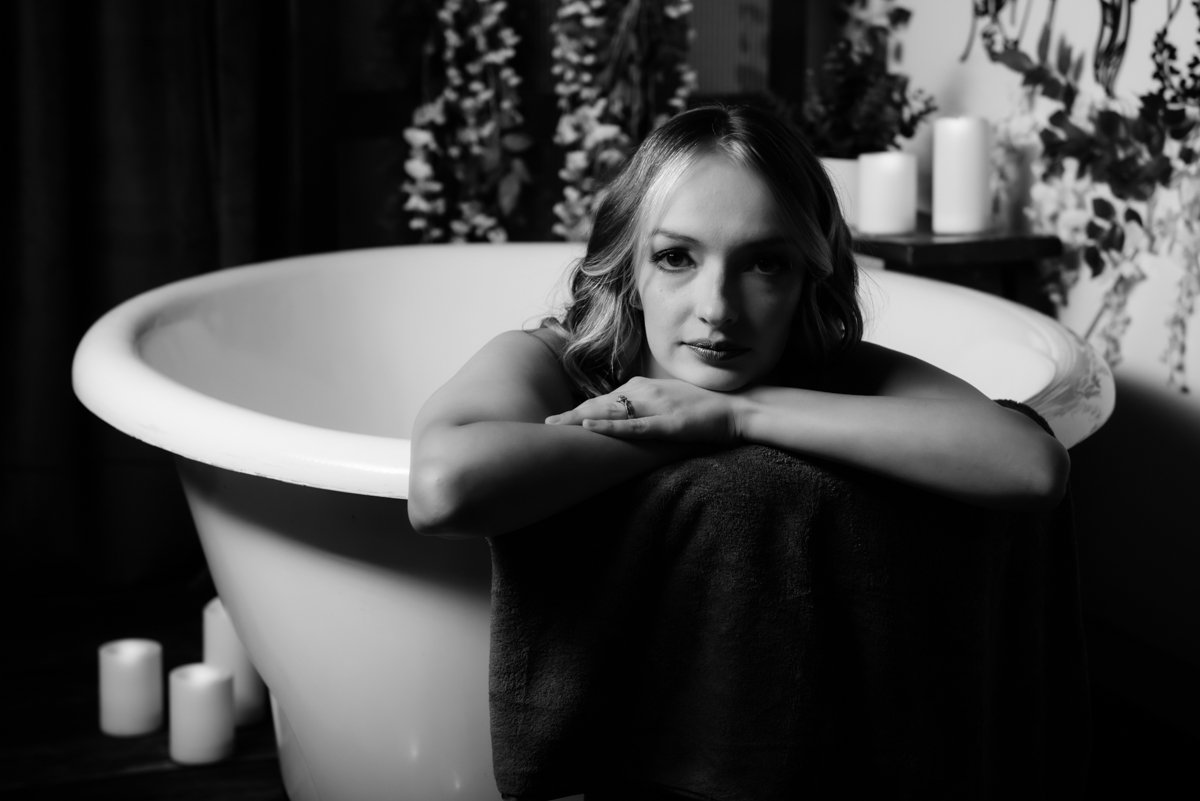
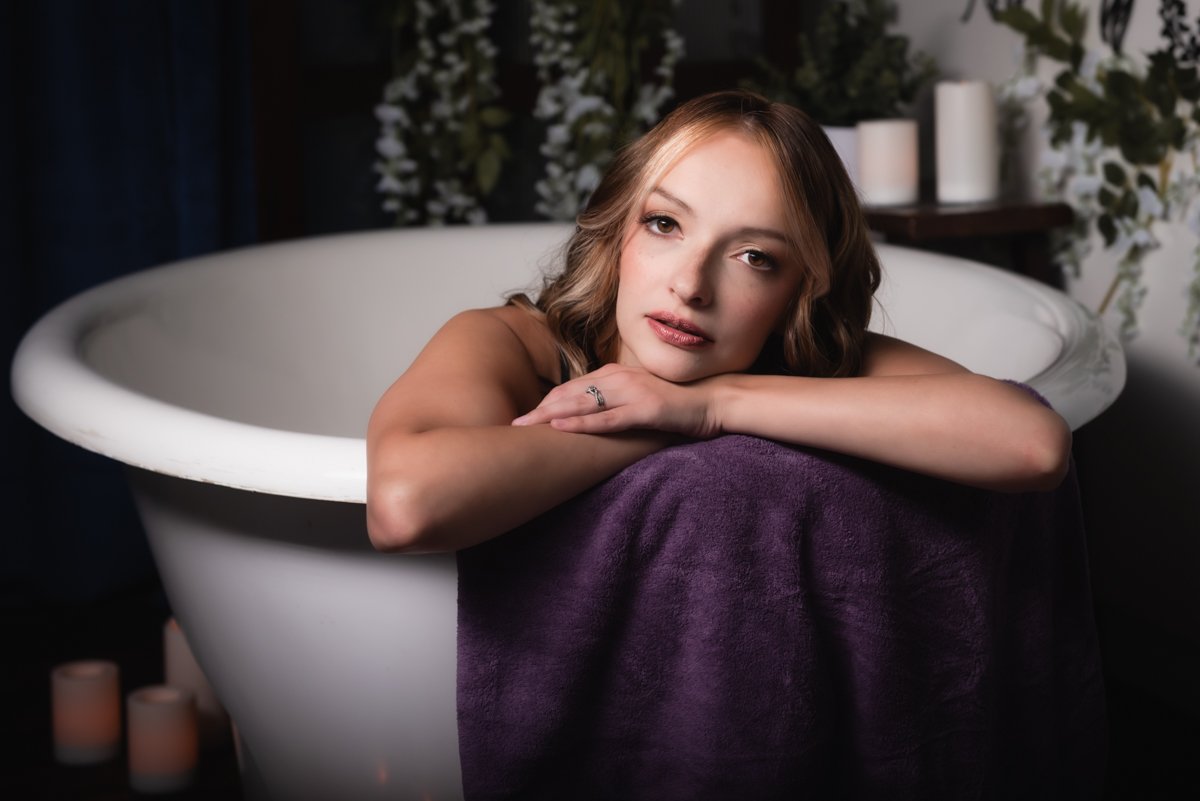
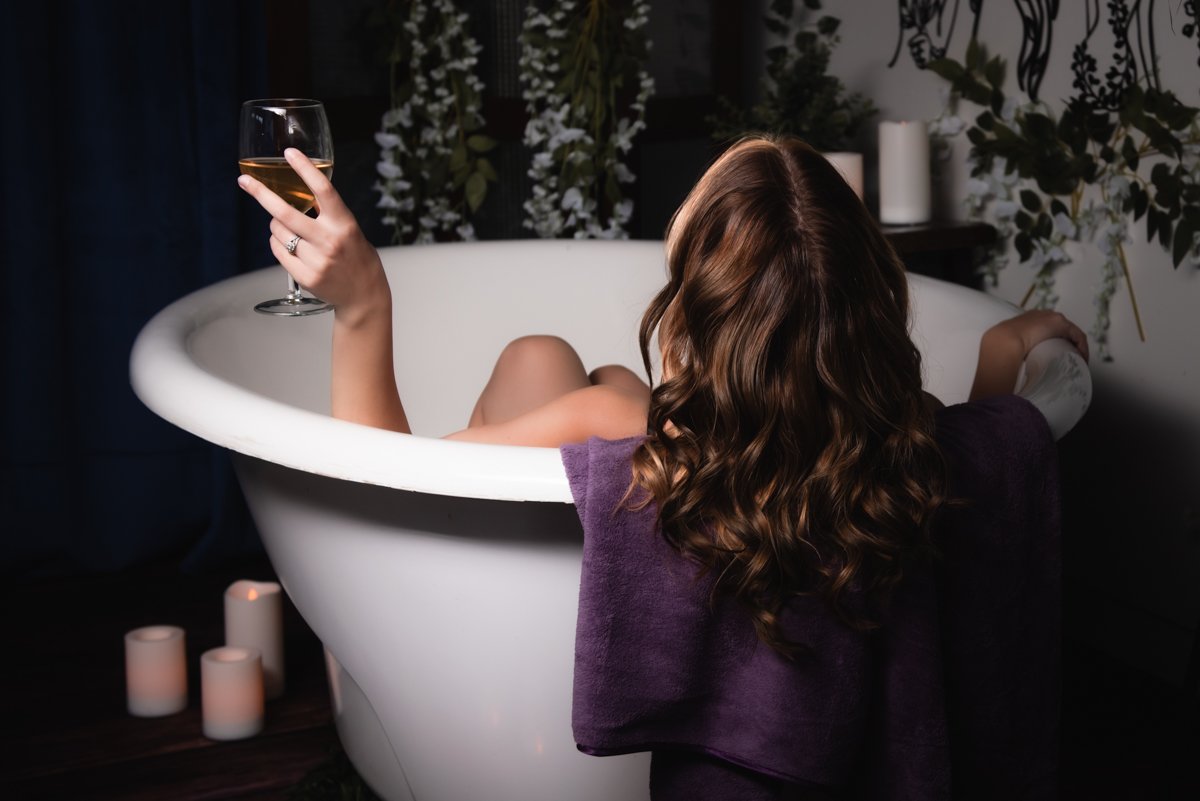
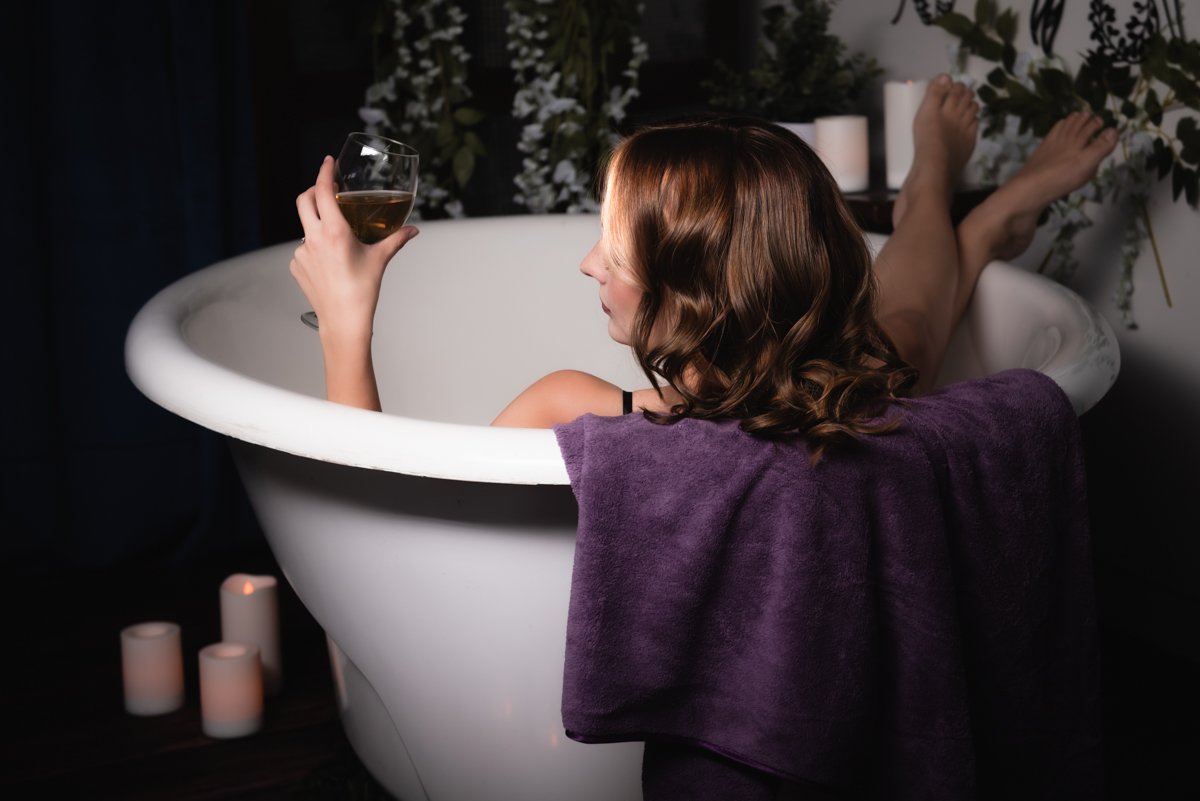
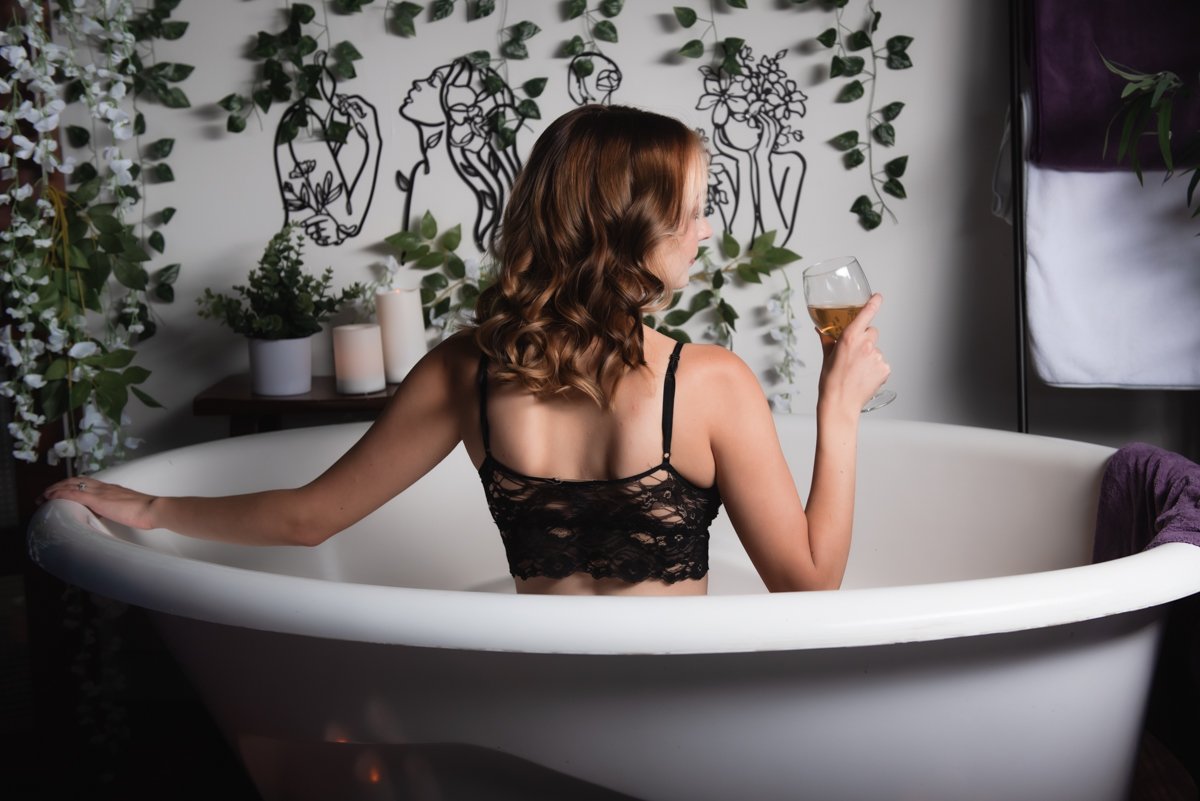
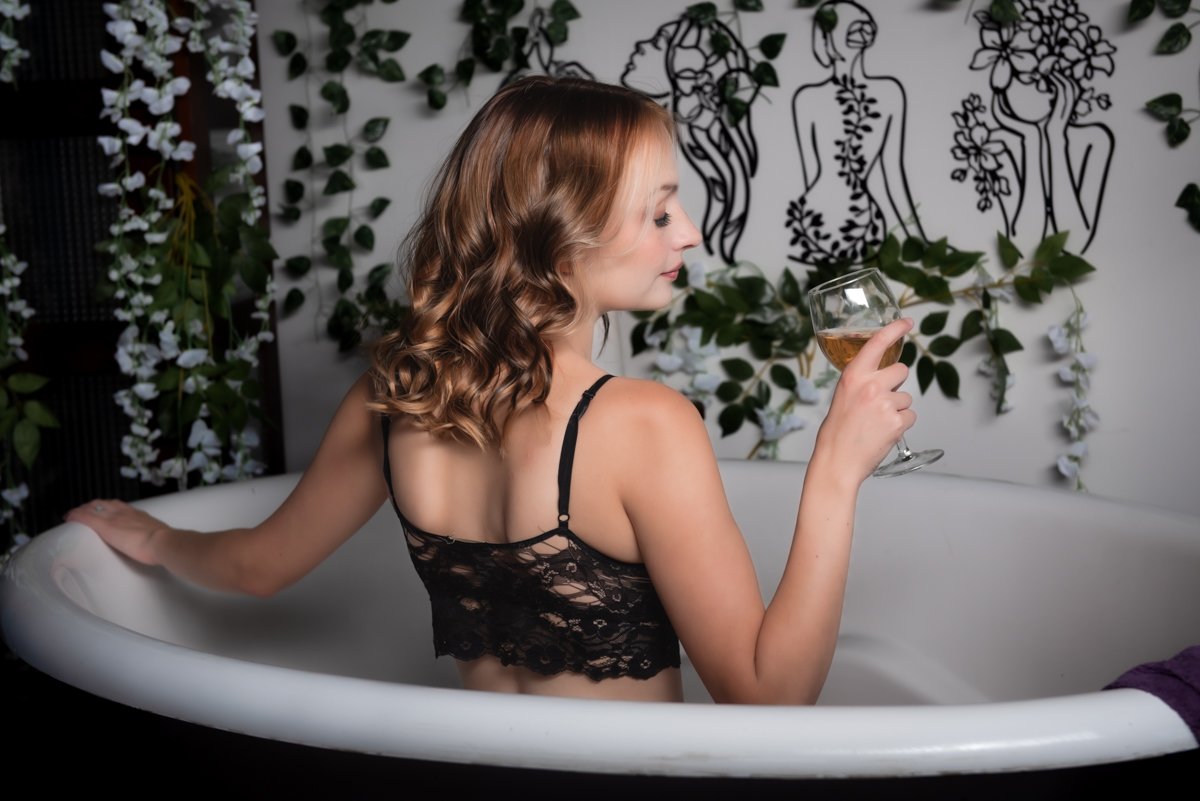
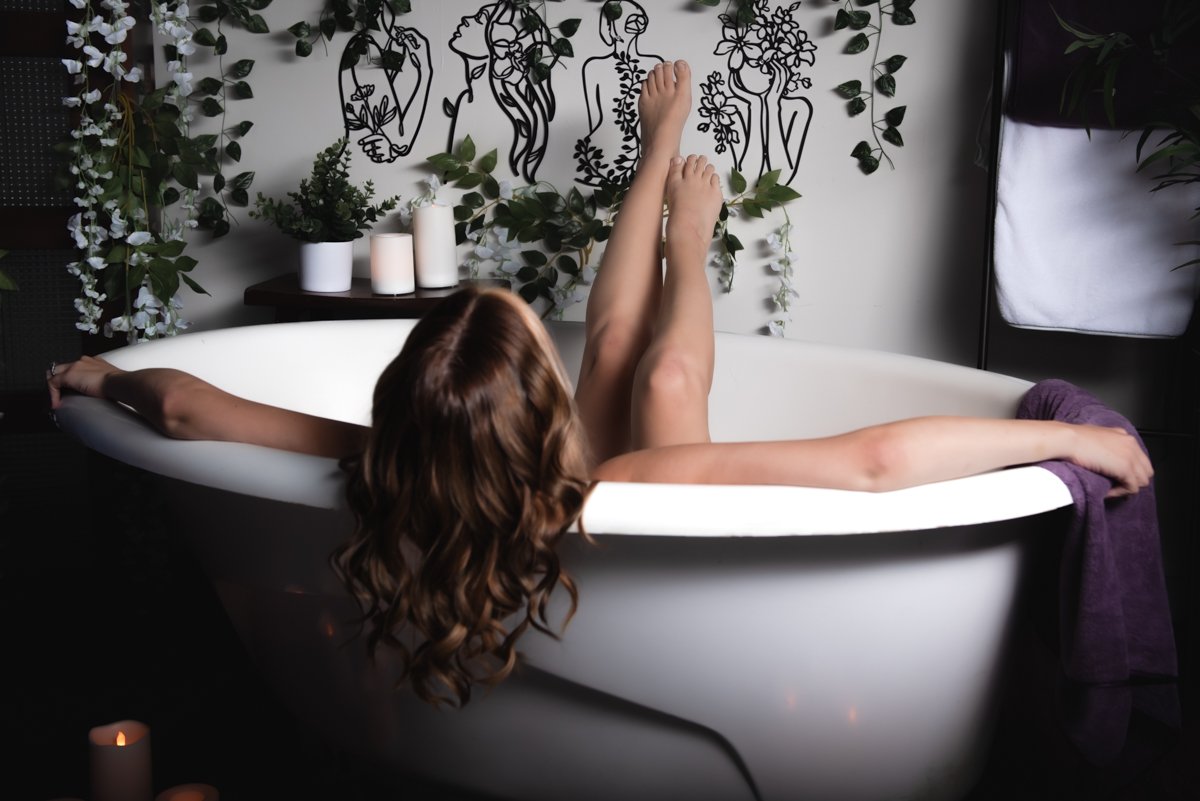
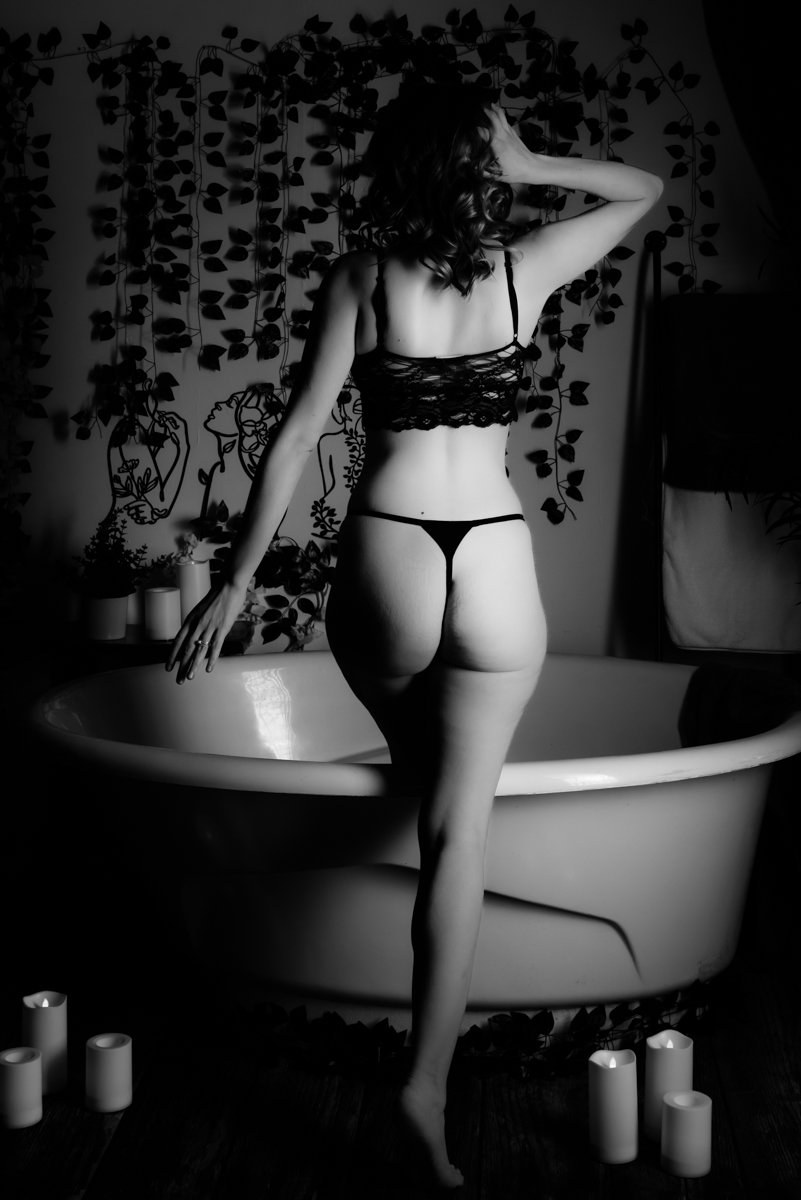
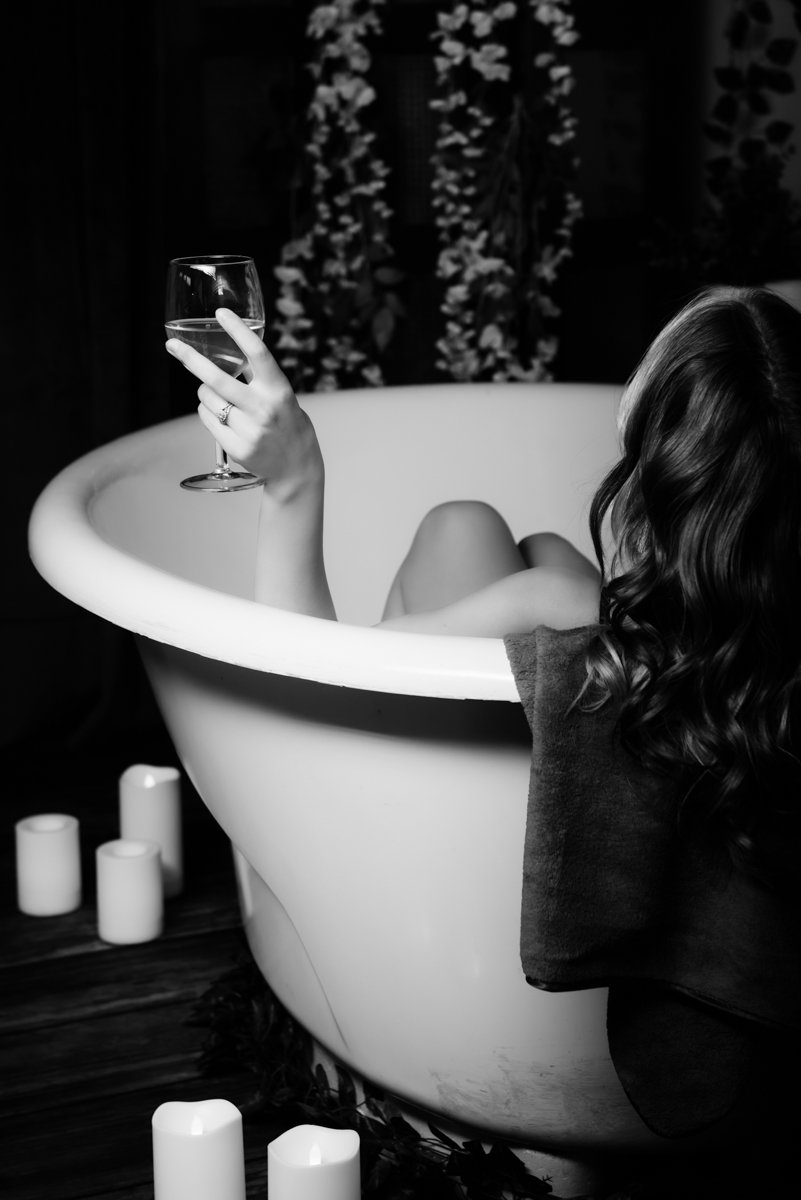
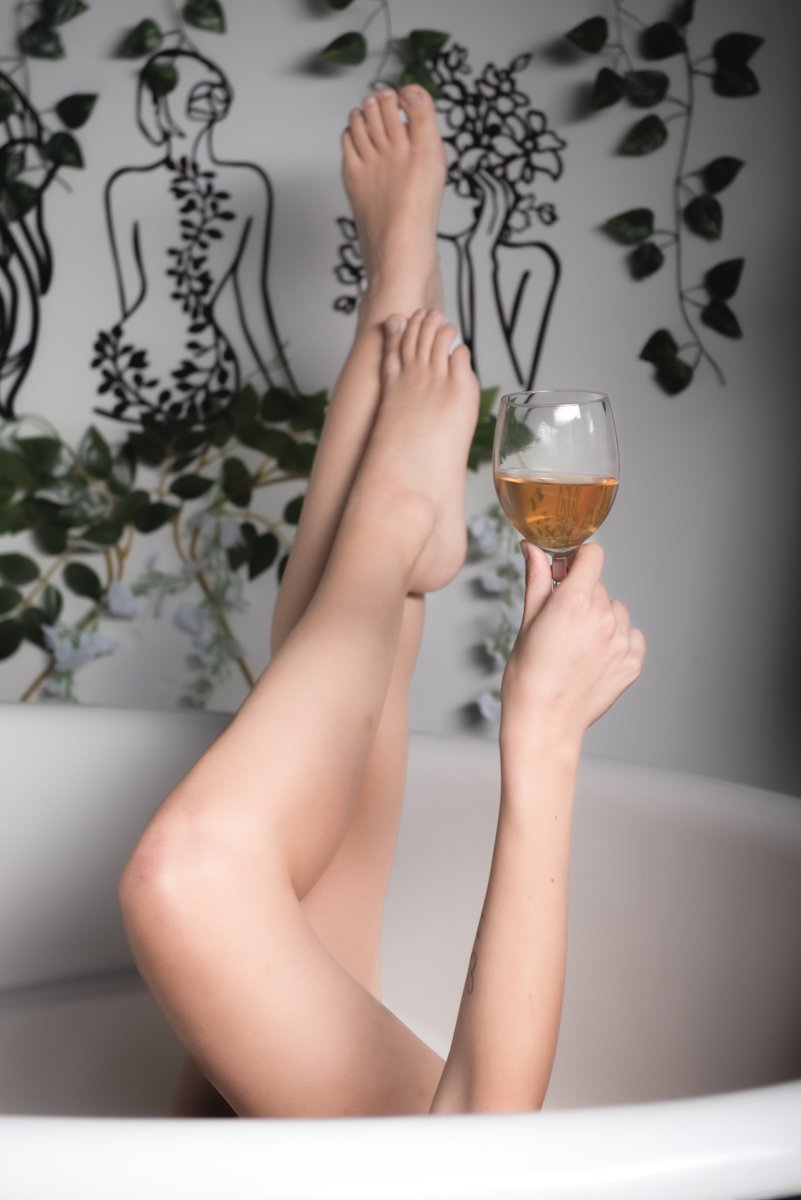
First up is our “dry” bathtub session! For this session, we kept the tub inside of the studio, and we left the tub empty. Without any bubbles, water, or milk in the tub… we just focused on posing and having fun with props! As you can see, we definitely had fun using the wine glass as a prop and finding all sorts of ways to sit in the tub. Some of my favorite shots ended up being the ones that feature my model facing away from the camera with her feet up on the edge of the tub. I love that these photos also include the candles on the ground and decor on the wall behind her!
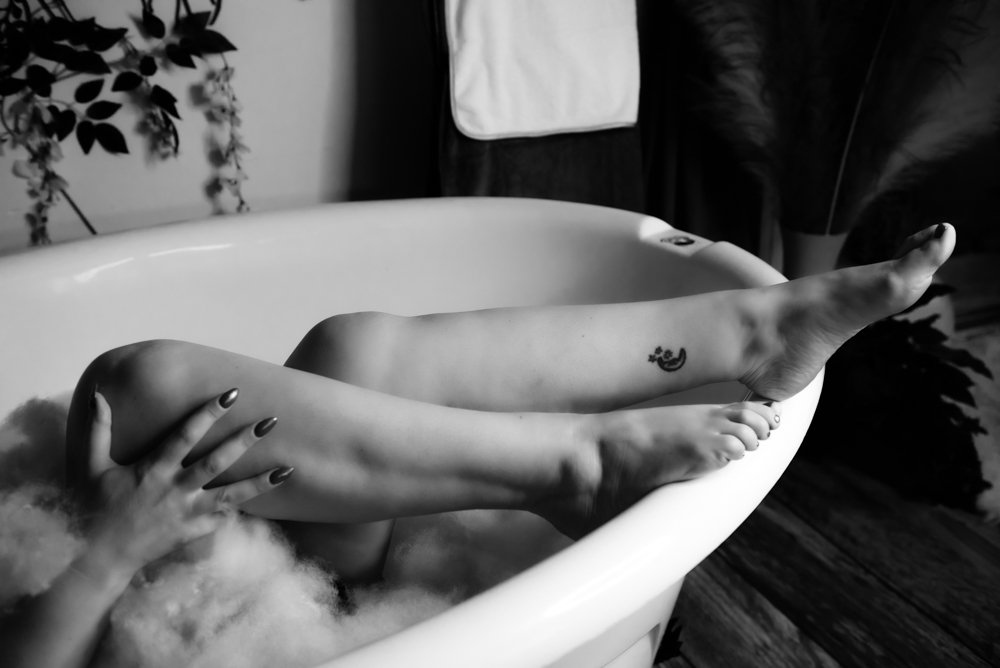
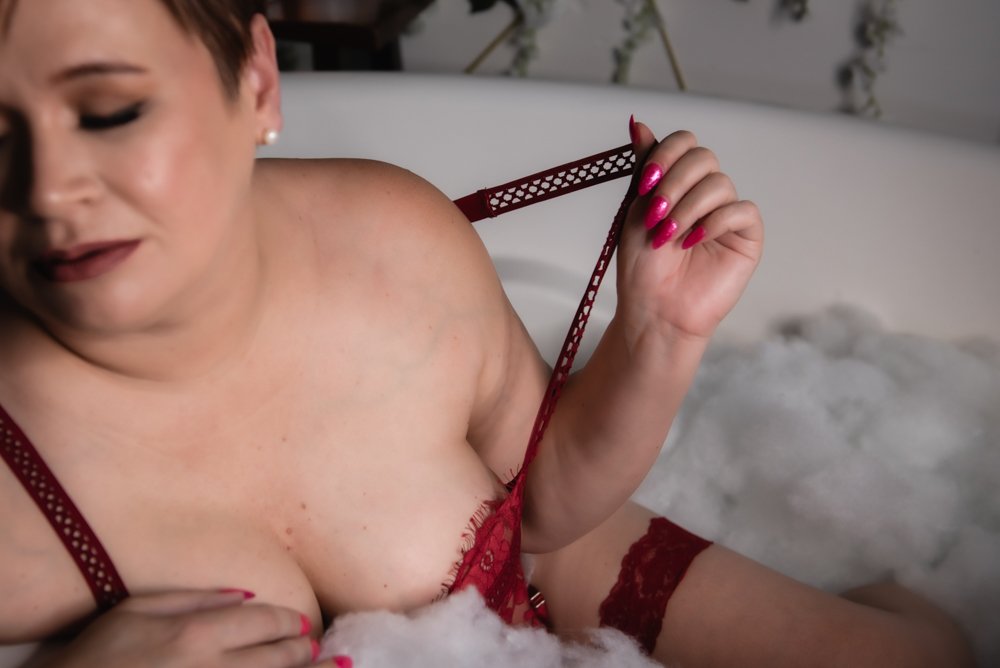
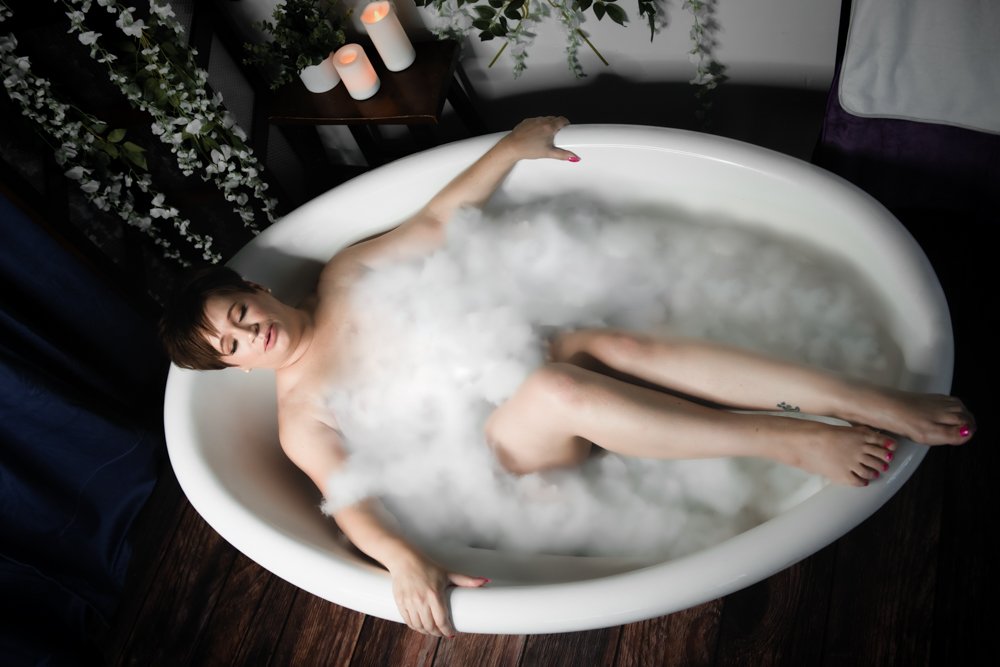
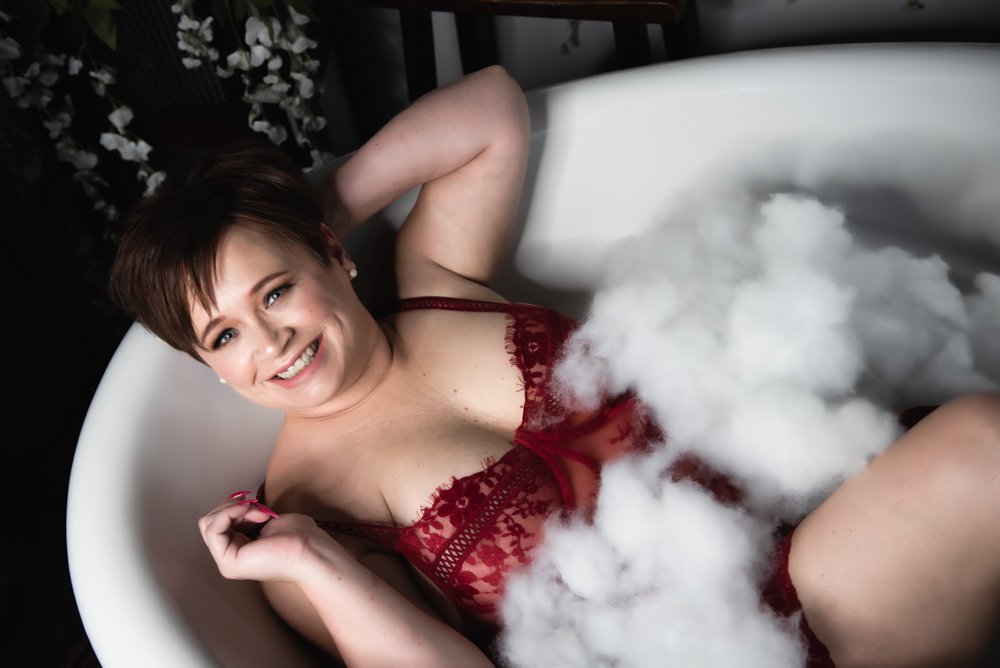
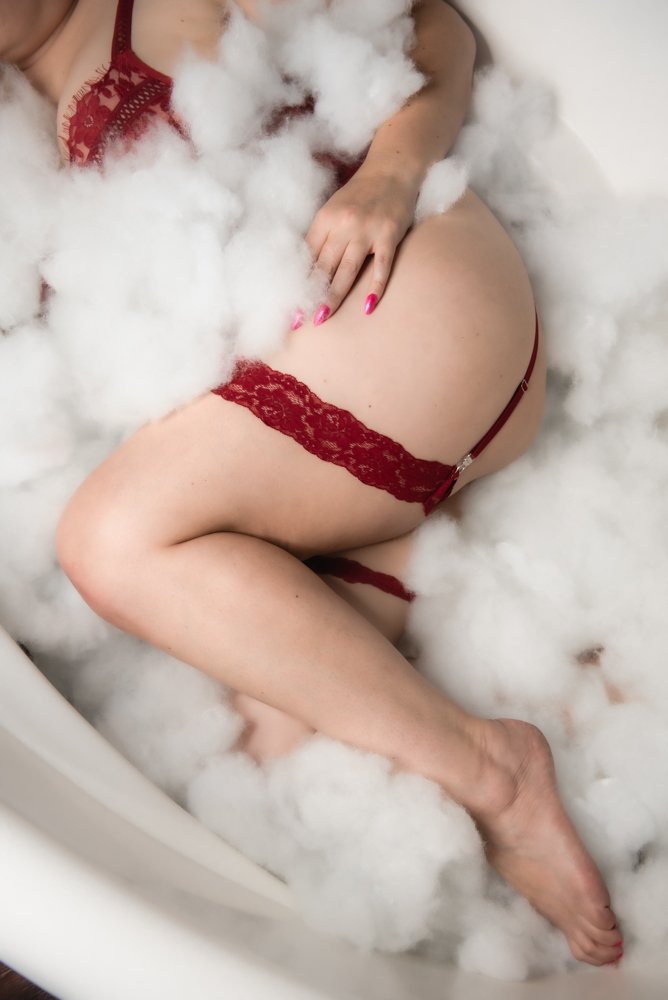
I can’t wait to talk about our faux bubbles next! I shared a bit about this session in a recent blog post, but today, I want to share what it took to make these bubbles come to life. Our goal was to make the final shots look like they included real bubbles, so we made it happen with two secret ingredients… pillow stuffing and some Photoshop magic! This was a great solution that allowed us to keep the indoor studio space free of any water and bubbles… while still making it look like there were bubbles in the tub!
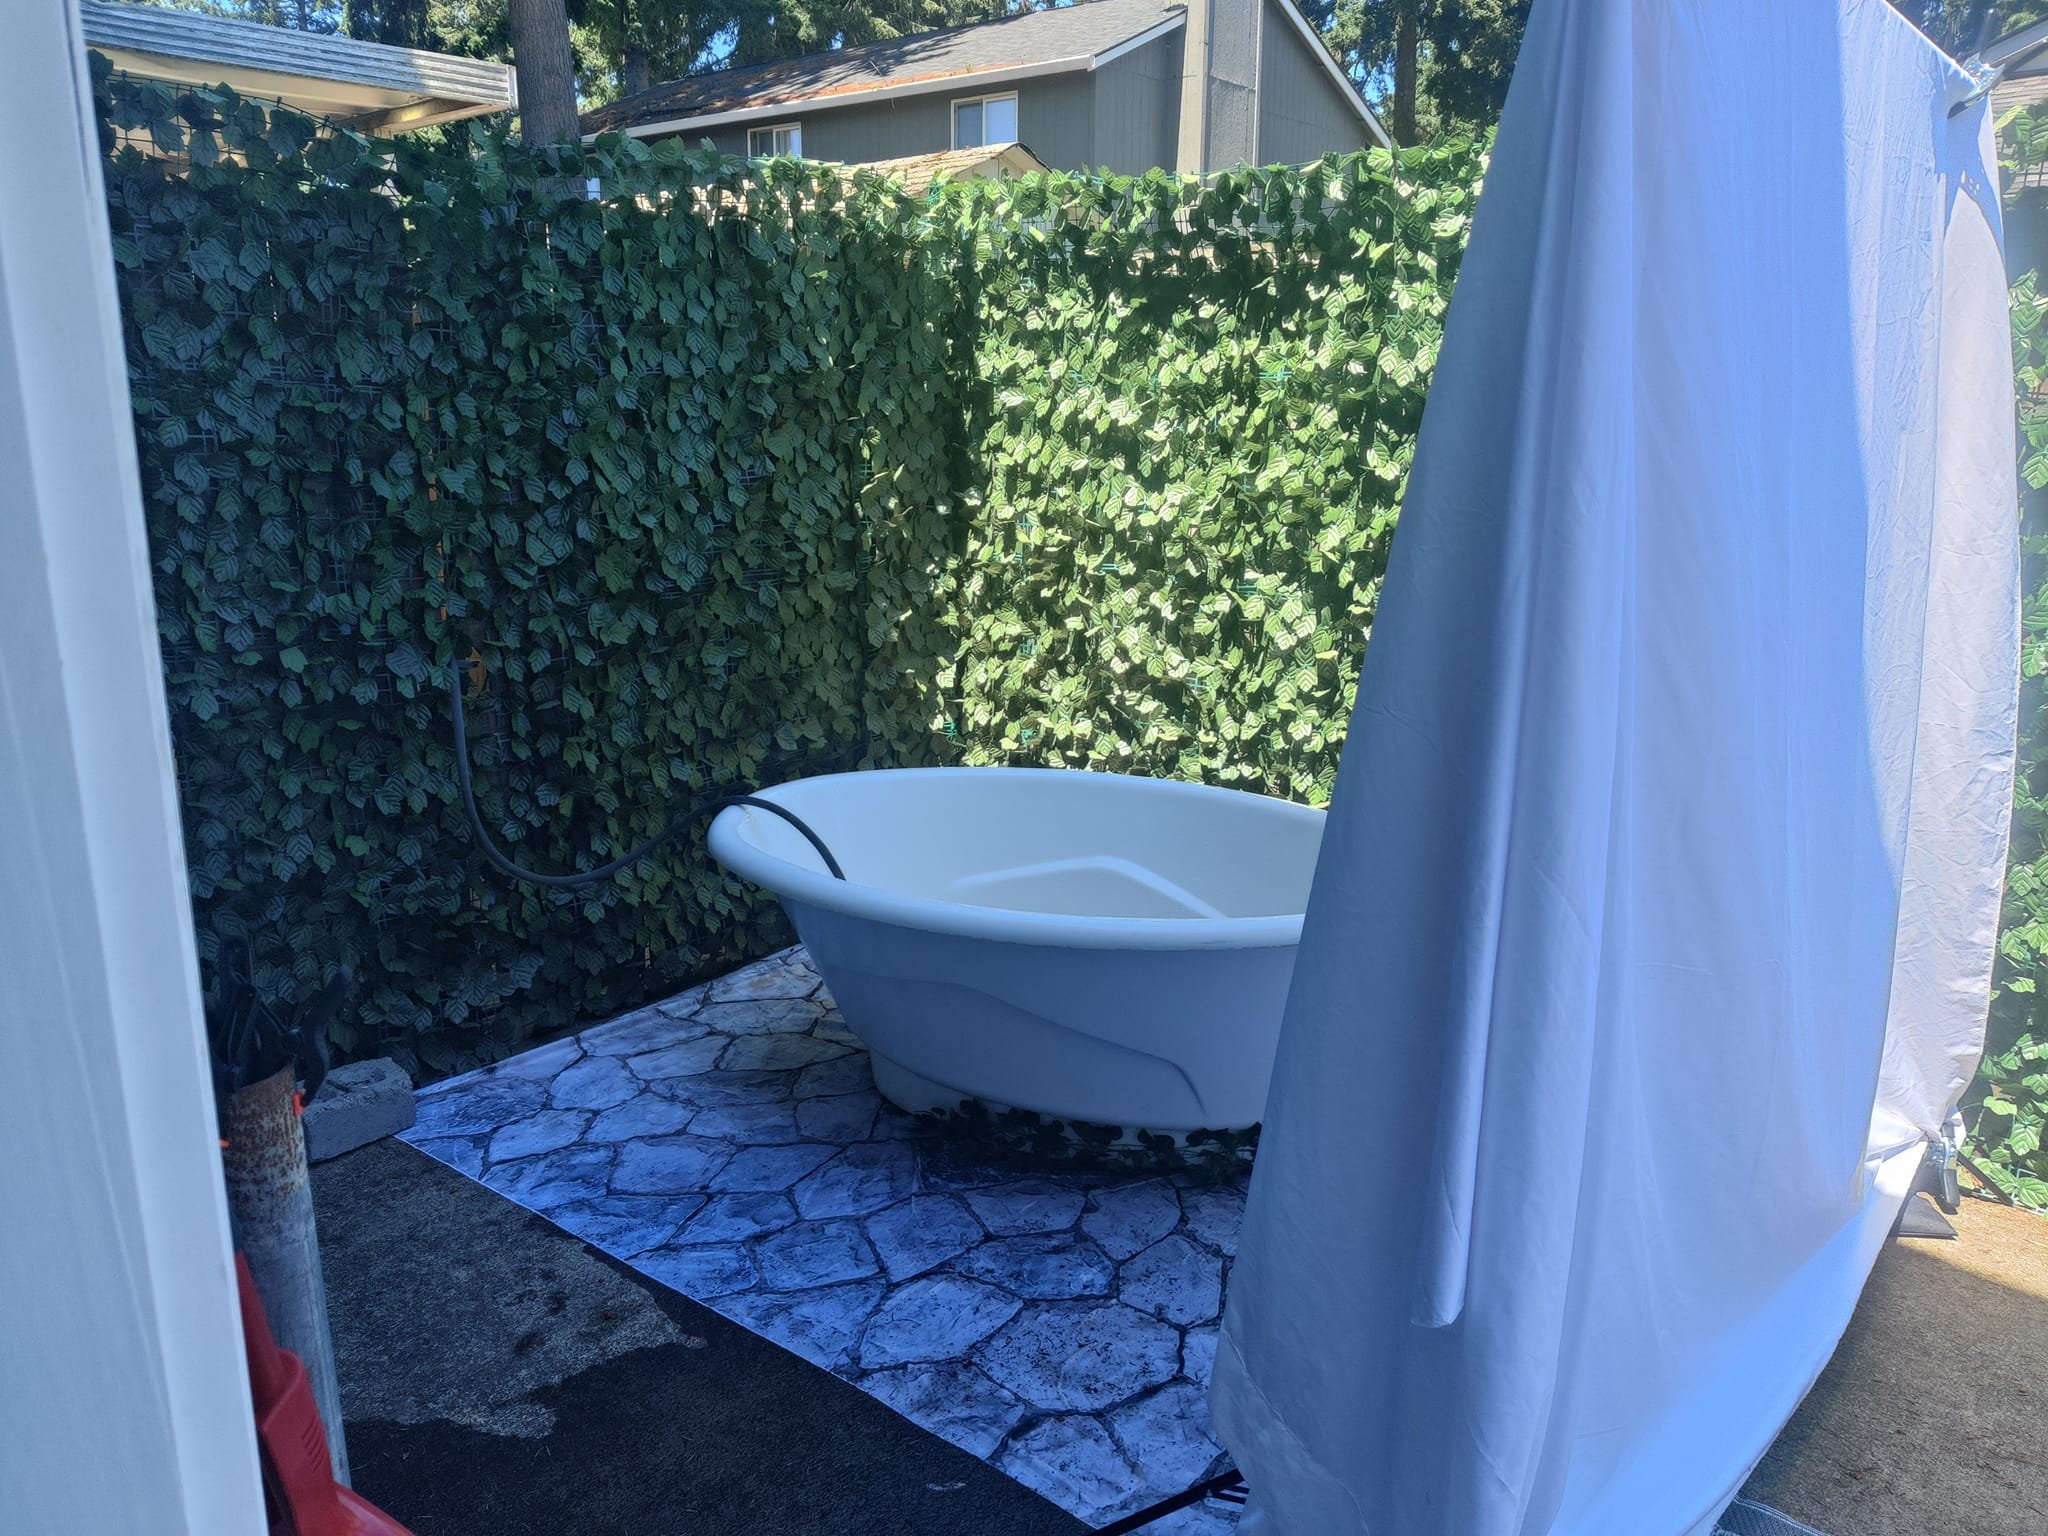
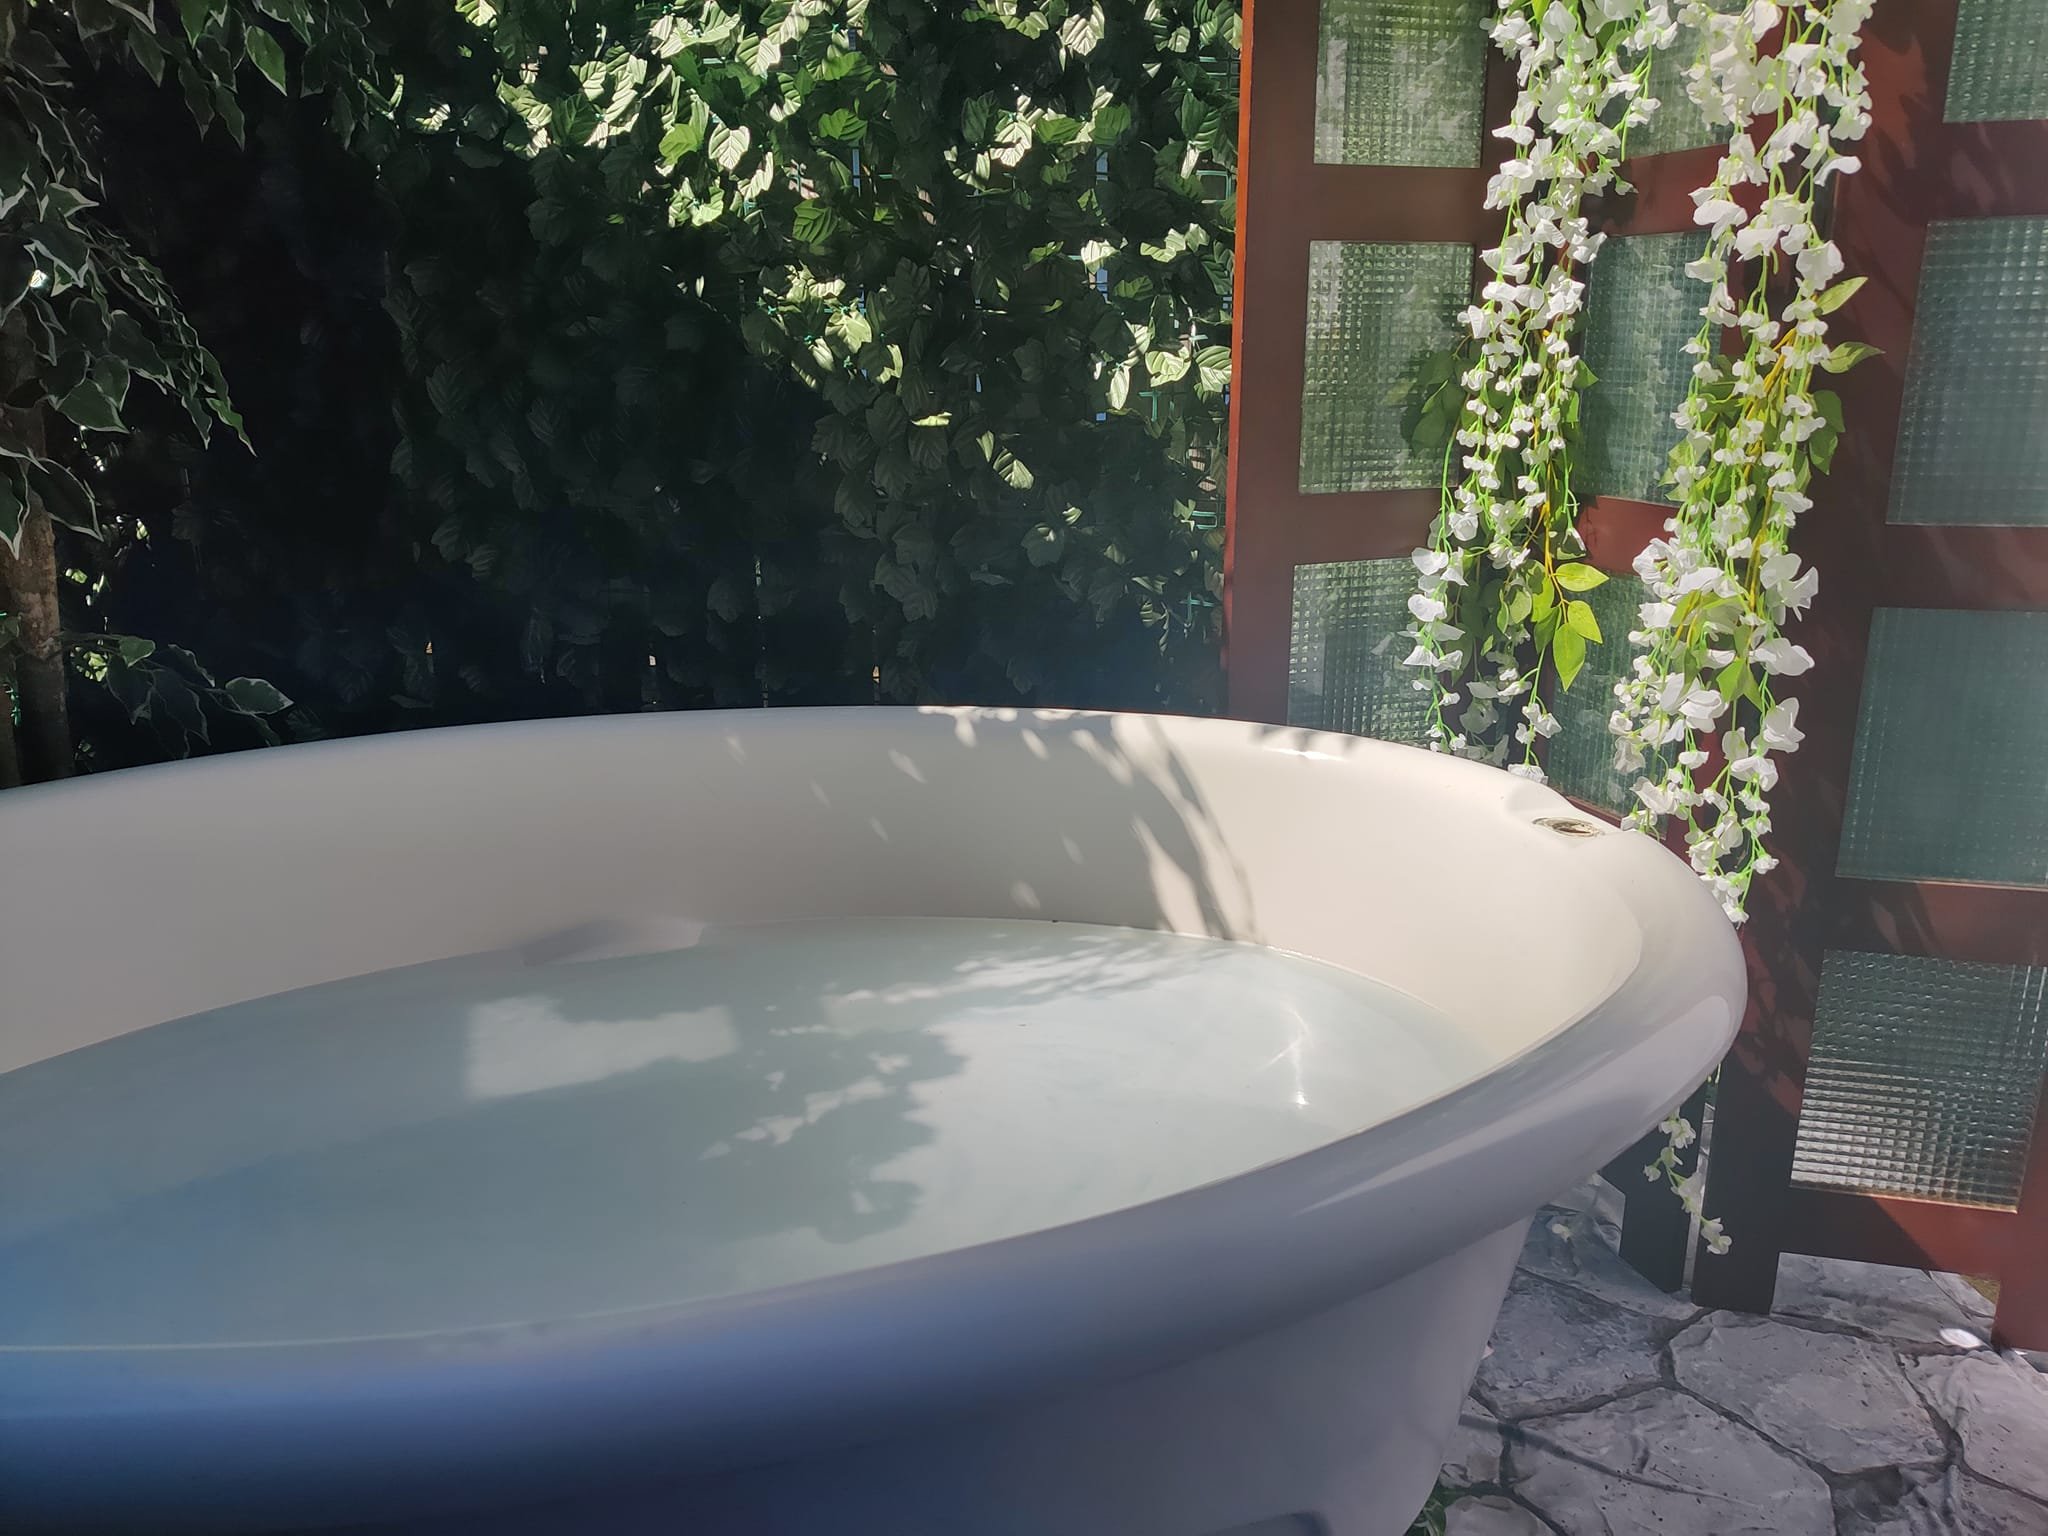
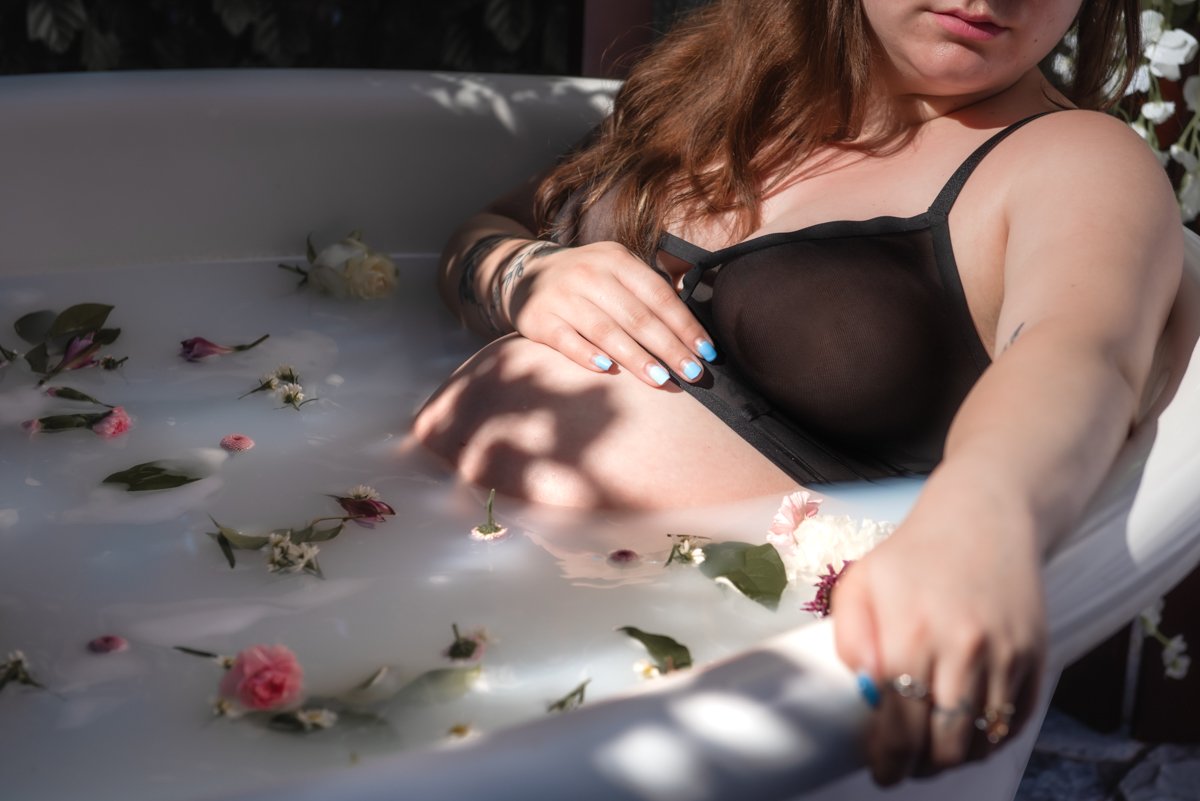
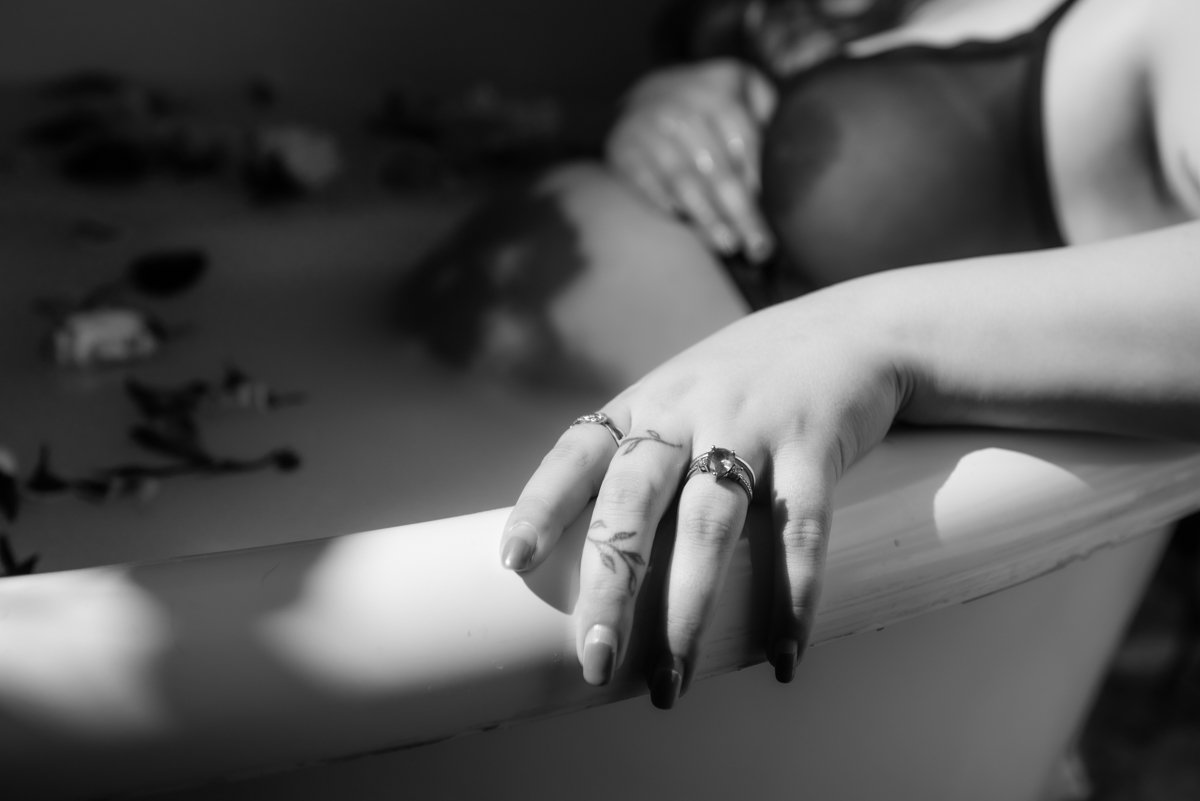
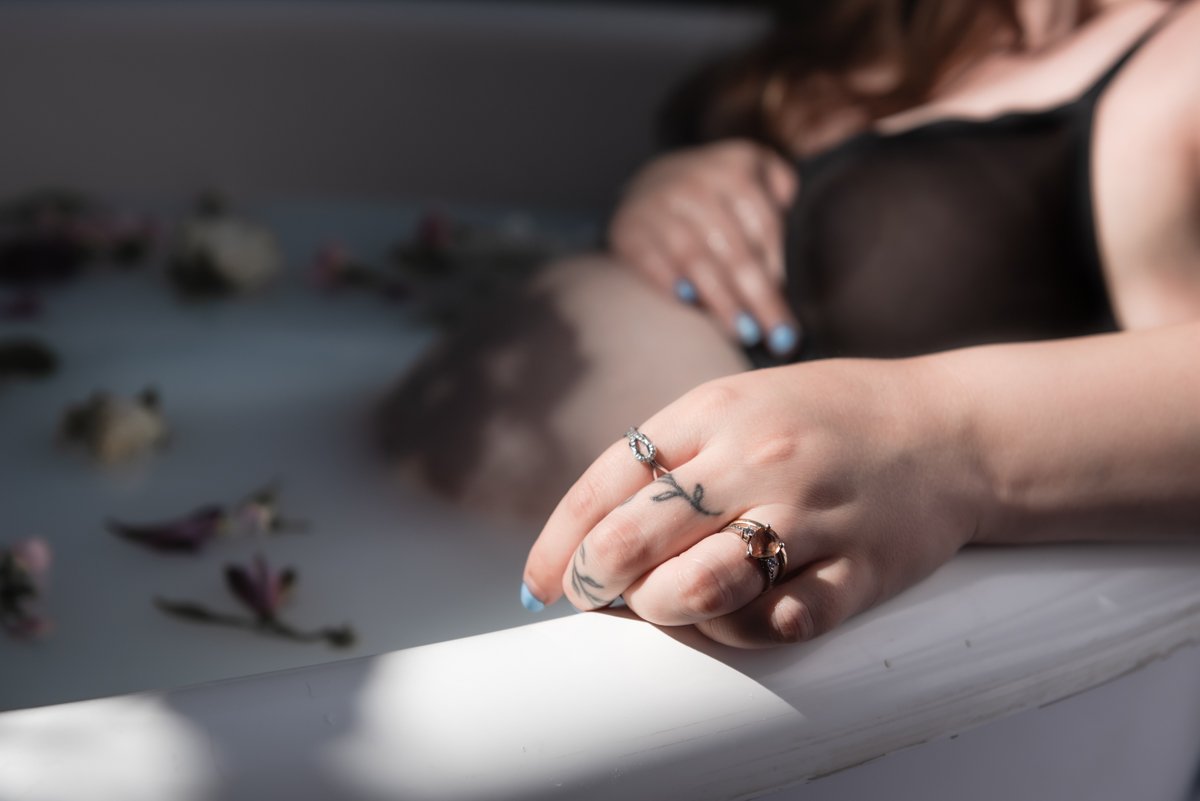
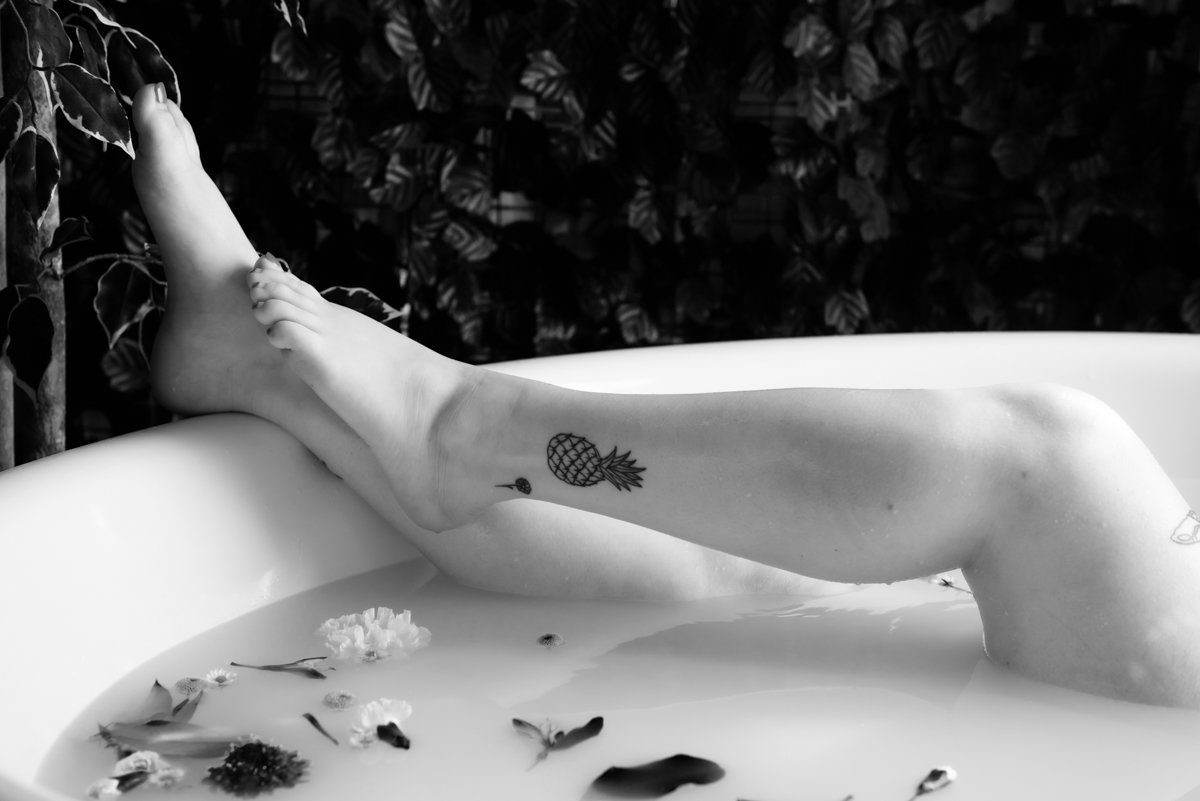
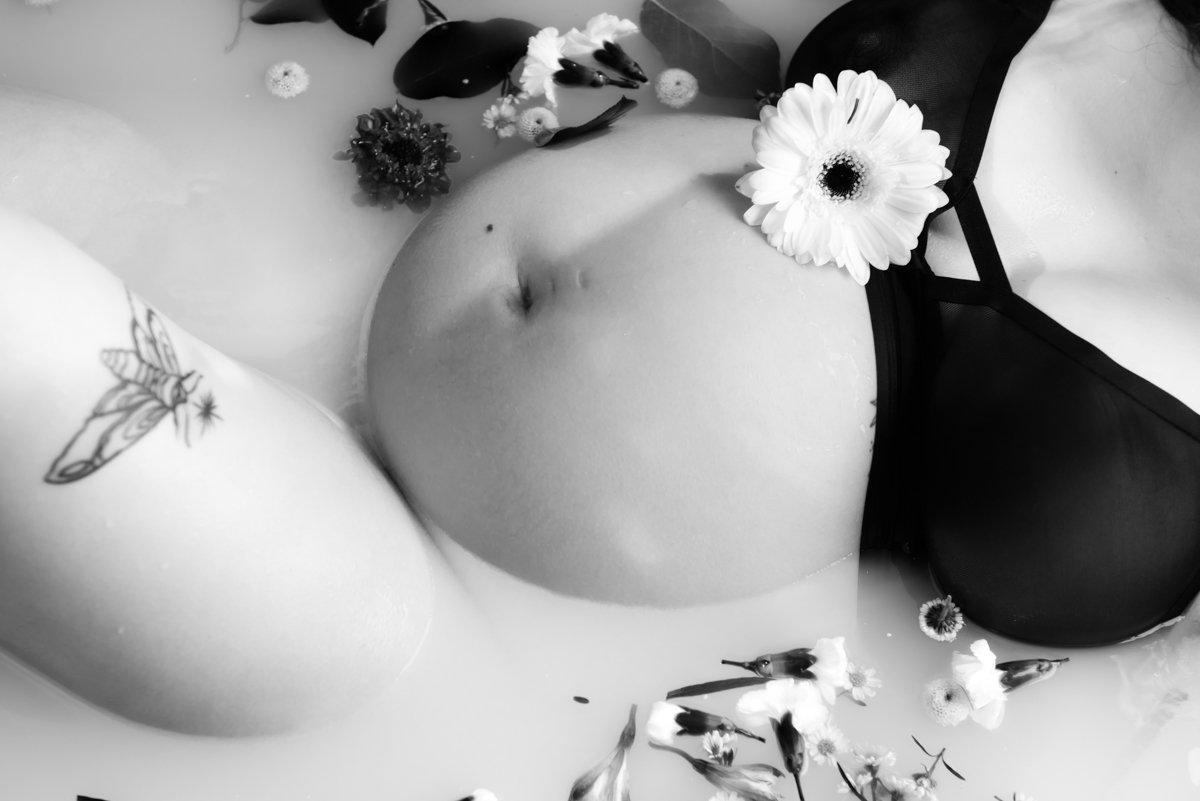
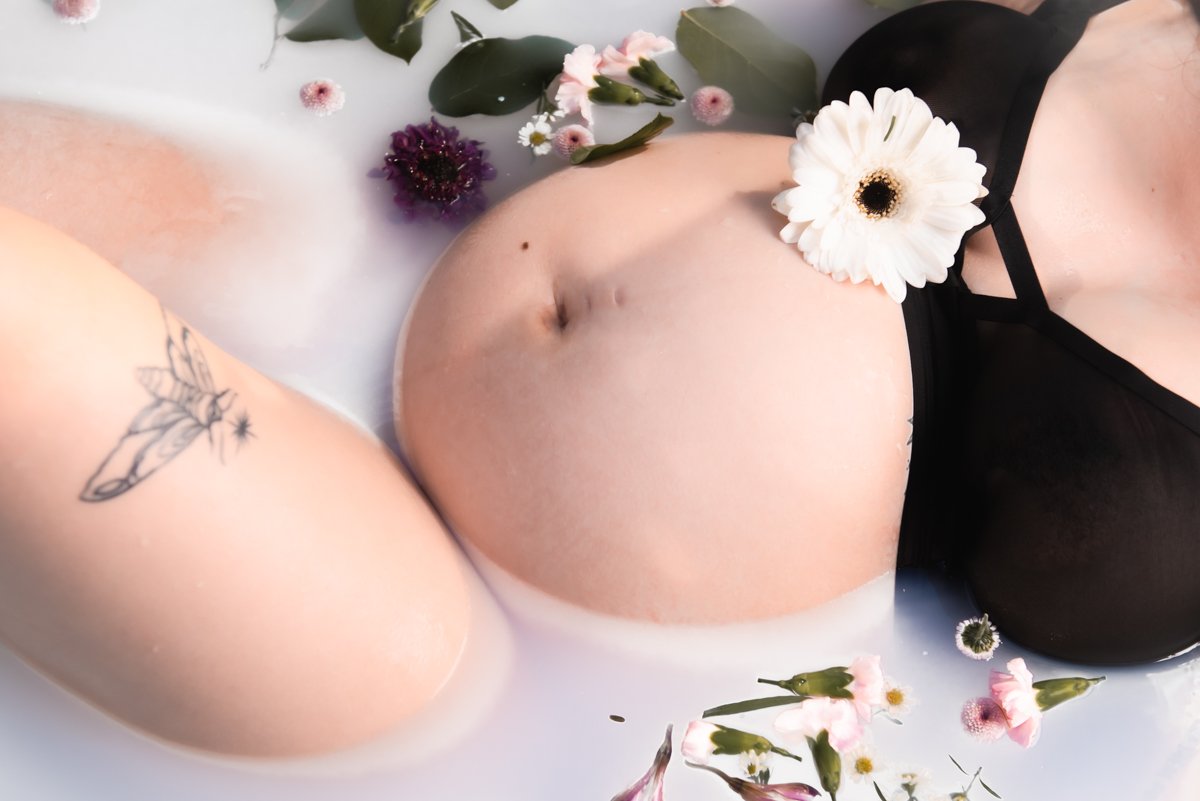
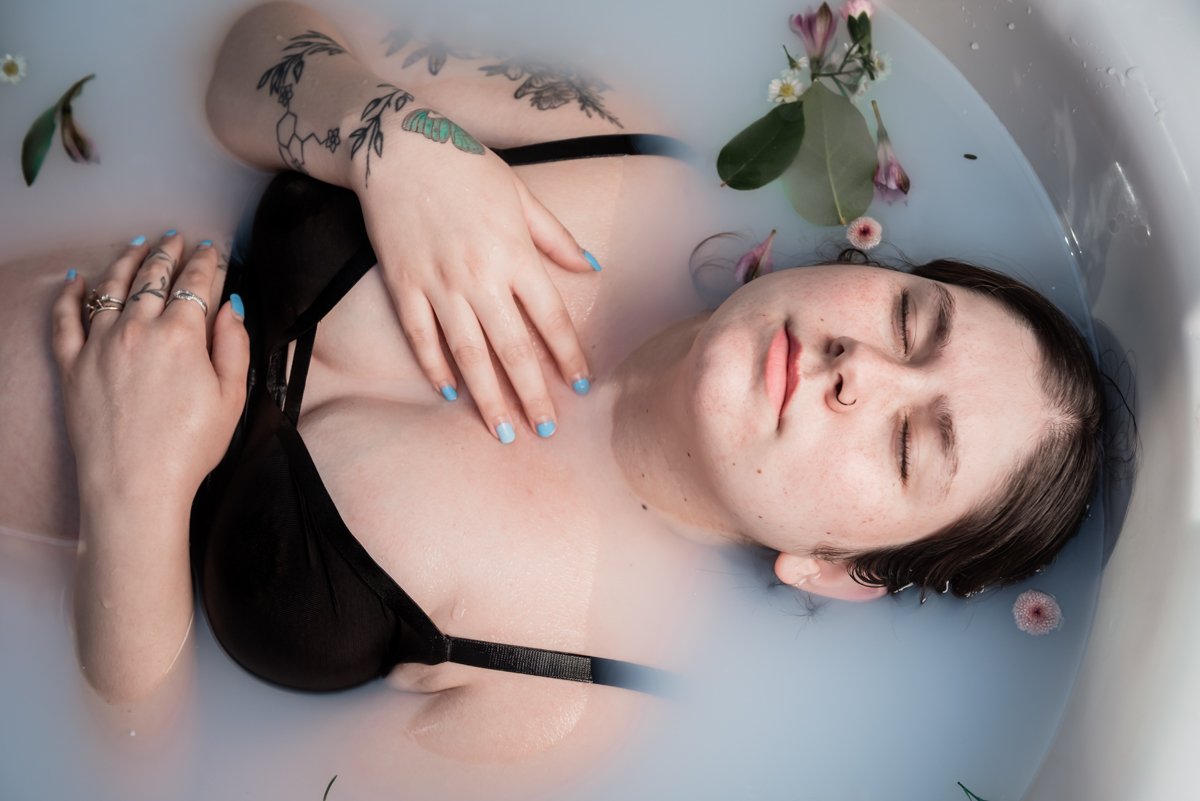
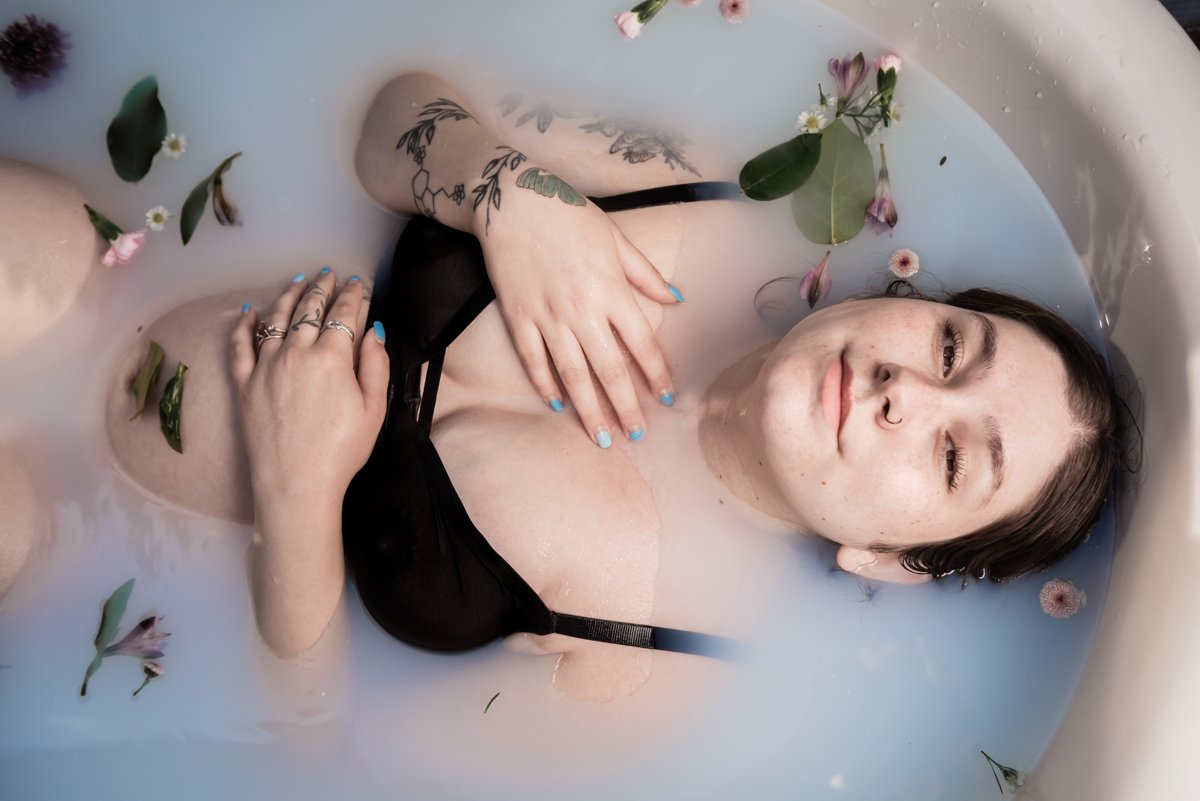
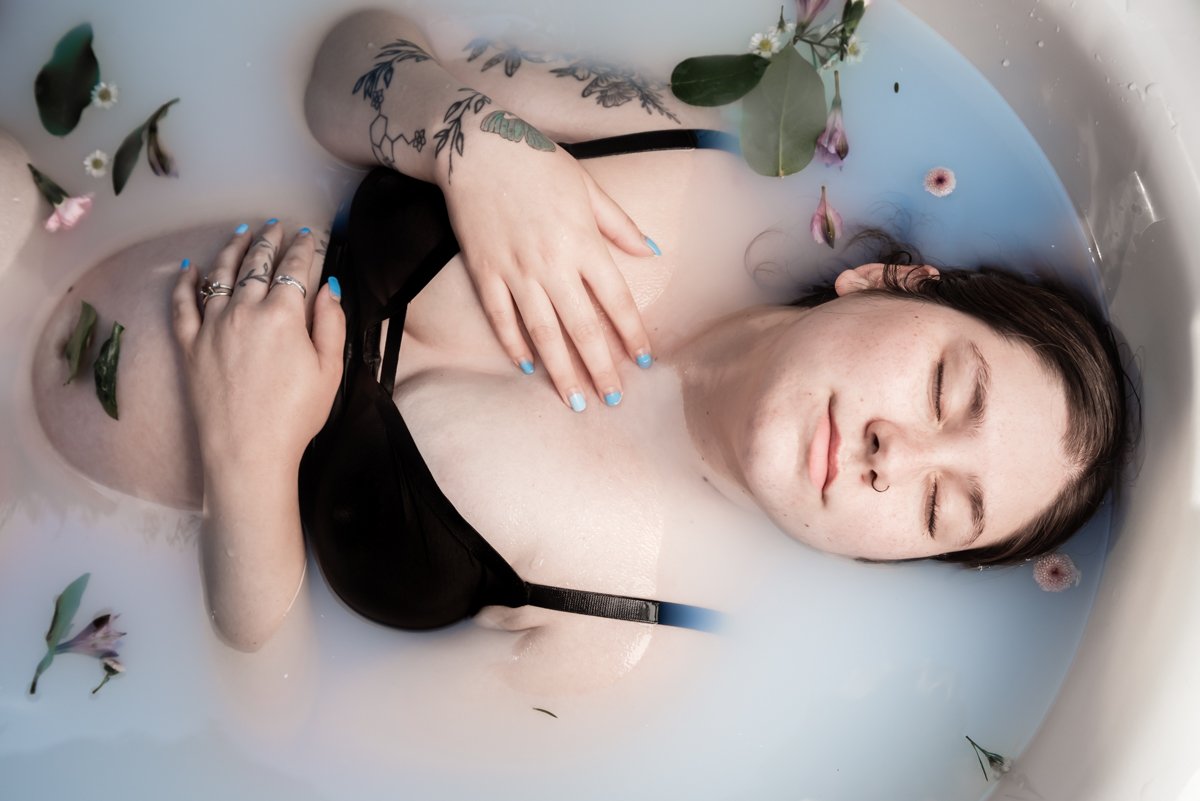
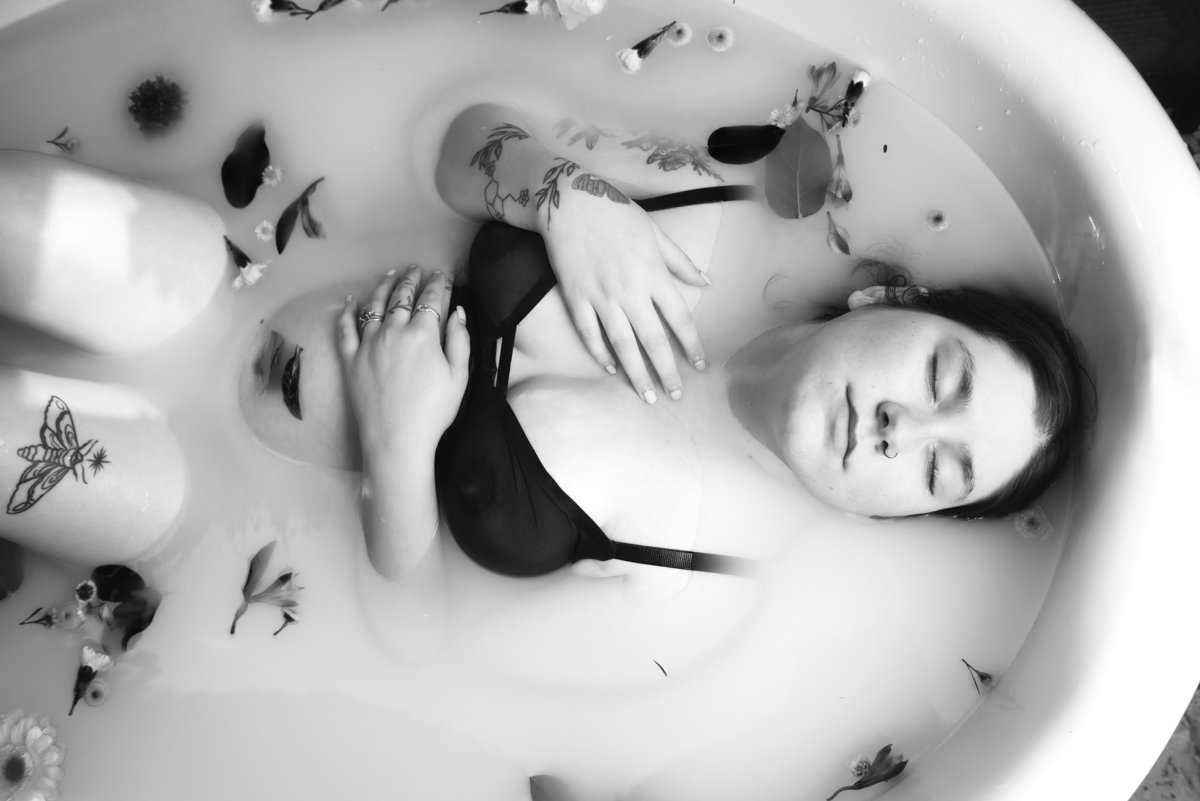
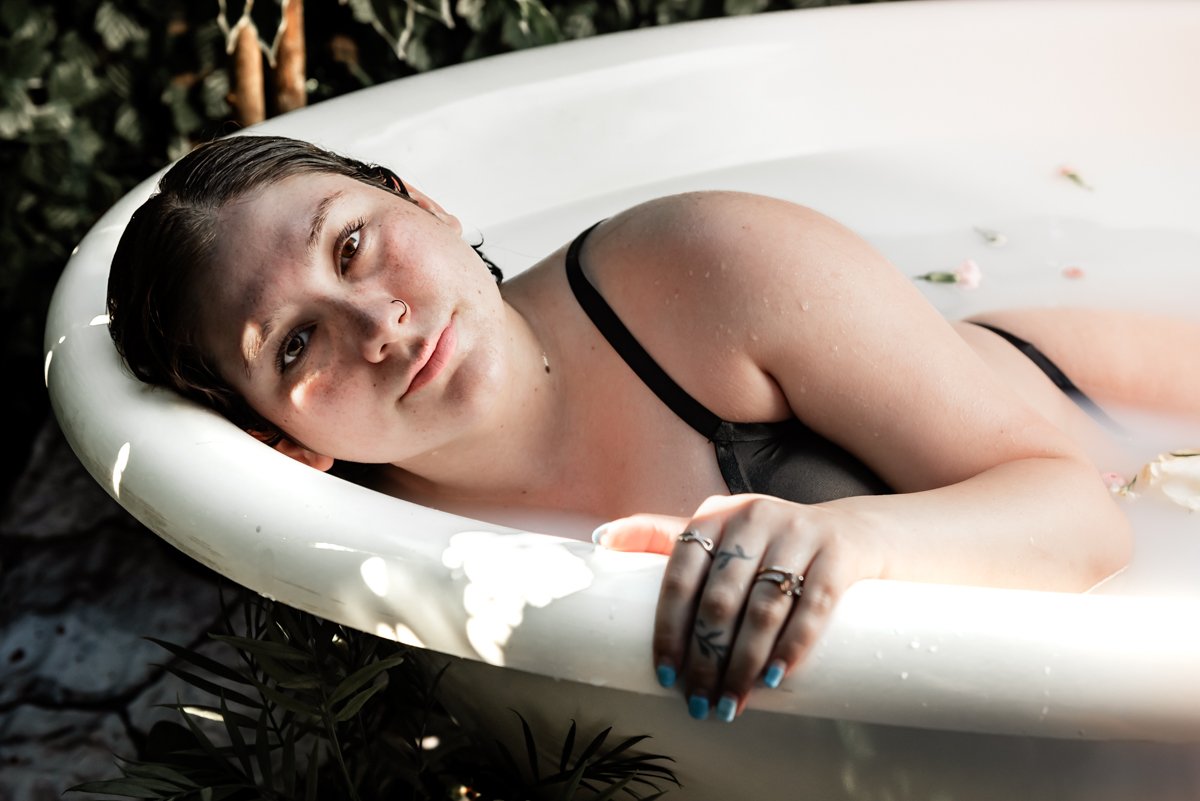
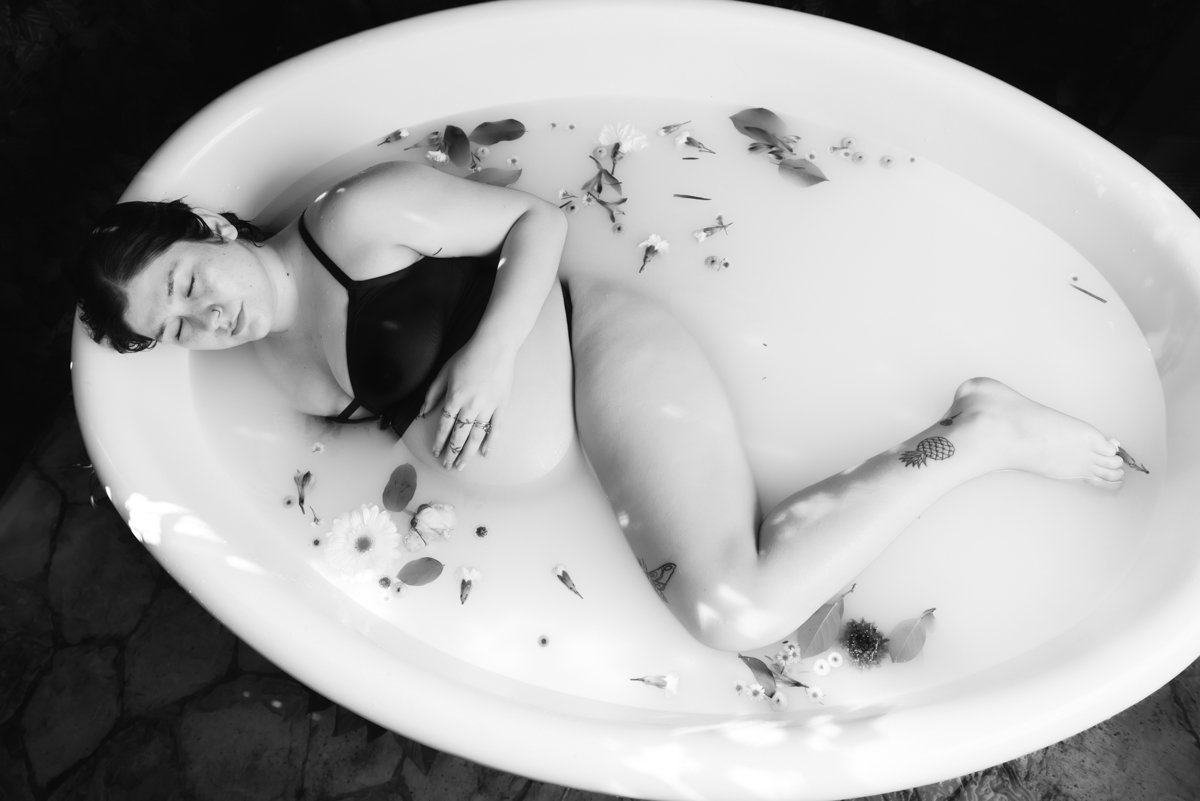
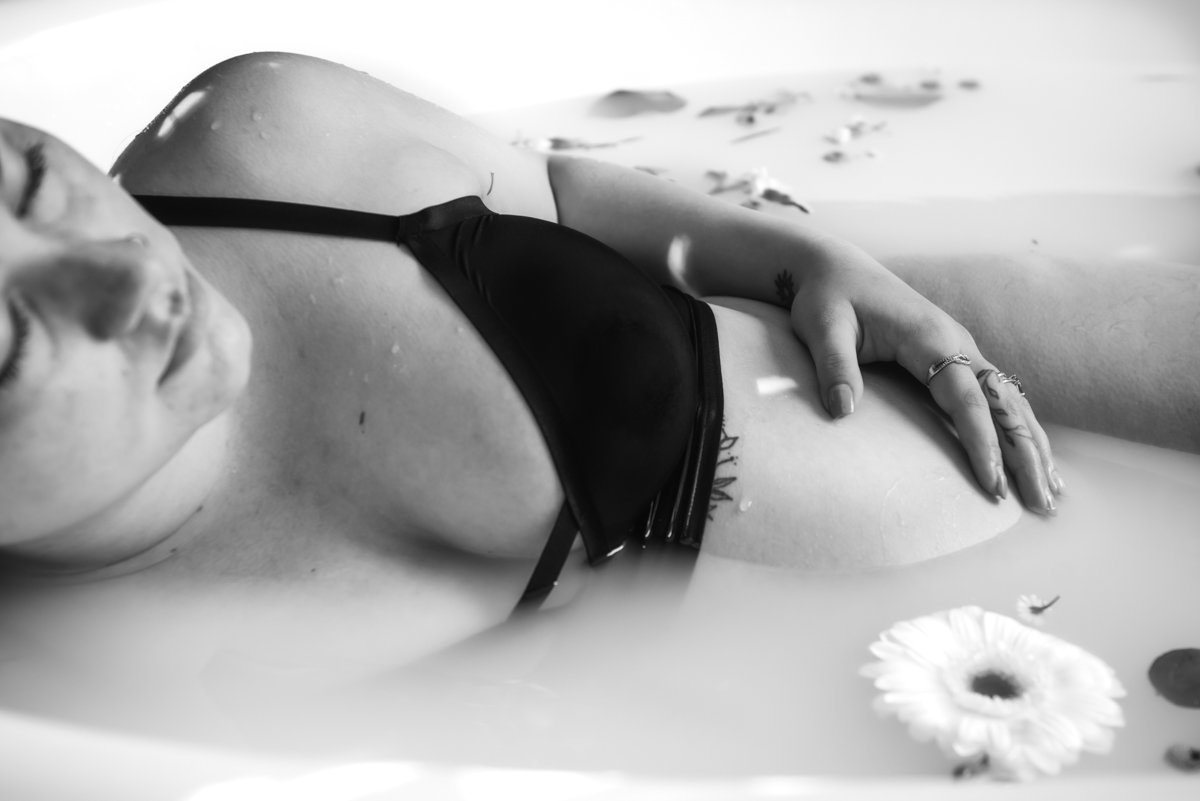
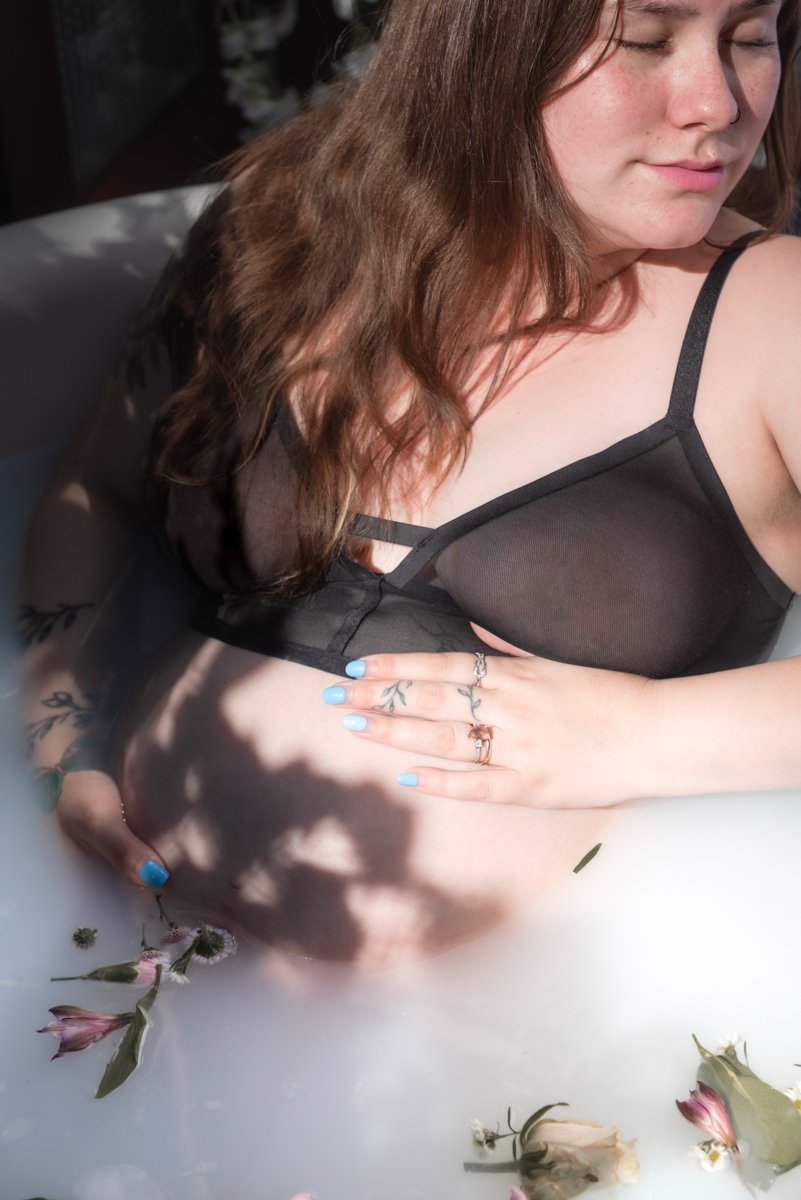
For the milk bath boudoir session, we switched it up and brought the bathtub outside. Thankfully the tub is super lightweight, so moving it around was a breeze! If you haven’t checked out our milk bath blog post, here’s a bit of a recap. For this session, my plan was to fill the tub with milky water and then add flowers… and we got there eventually! I had a bit of a mishap where the water started leaking out, but I jumped into action as fast as I could to fix the issue. Thankfully, in the final shots, you can’t even tell that we had this problem!
After using this tub in three different types of sessions, I can confidently say that it’s SO versatile and easy to use in different locations. Whether you’re a fan of a dry bathtub, faux bubbles, or even a milk bath, this bathtub can do it all! I’m SO thrilled to have it as a new addition to my studio.
